
Upload iOS to TestFlight
Upload your Median iOS app to App Store Connect for TestFlight testing
Overview
The recommended way to upload your iOS app to TestFlight with Median is directly from the Median App Studio.
With the App Store Connect API configured and Automatic Uploads to App Store Connect enabled, Median will build a signed distribution IPA in the cloud and upload it directly to App Store Connect. Before uploading, your App Store Connect app record must already exist with the same Bundle ID configured in the Median App Studio. After Apple finishes processing the build, you can add it to TestFlight for internal or external testing.
You do not need a Mac, Xcode, or Apple Transporter for this standard workflow.
Recommended Workflow
- Open your app in the Median App Studio and go to Build & Deploy.
- Click Configure in the iOS IPA section.
- In Apple Developer API Connection, enter your Issuer ID and Key ID, and upload your Private Key (.p8) file.
- In Bundle ID & App Store Connect App:
- Register the Bundle ID for your app.
- Create the App Store Connect app record in App Store Connect using that Bundle ID.
- Verify the App Store Connect app record in Median App Studio.
- In Signing & Upload Settings, select Distribution Profile and set Upload to App Store Connect to Automatic.
- Build your iOS IPA in the Median App Studio (if Automatic Upload is not selected you can manually click "Upload" after the build is complete).
- Wait for Apple to process the uploaded build in App Store Connect.
- In App Store Connect, open TestFlight, resolve any required prompts, and add testers.
Manual Xcode Upload (Optional)
Use this workflow only if you intentionally choose to build your iOS app locally from downloaded source in Xcode.
Most Median self-publishing workflows do not require Xcode. For most developers, building in Median App Studio and uploading automatically to App Store Connect is the recommended approach.
1. Register app to App Store Connect
To upload your app for TestFlight, you will first need to register your app in your App Store Connect account by following the steps in the official documentation. This includes registering your app name and bundle ID.
2. Open app in Xcode
See Build iOS from source to download and open iOS source code in Xcode.
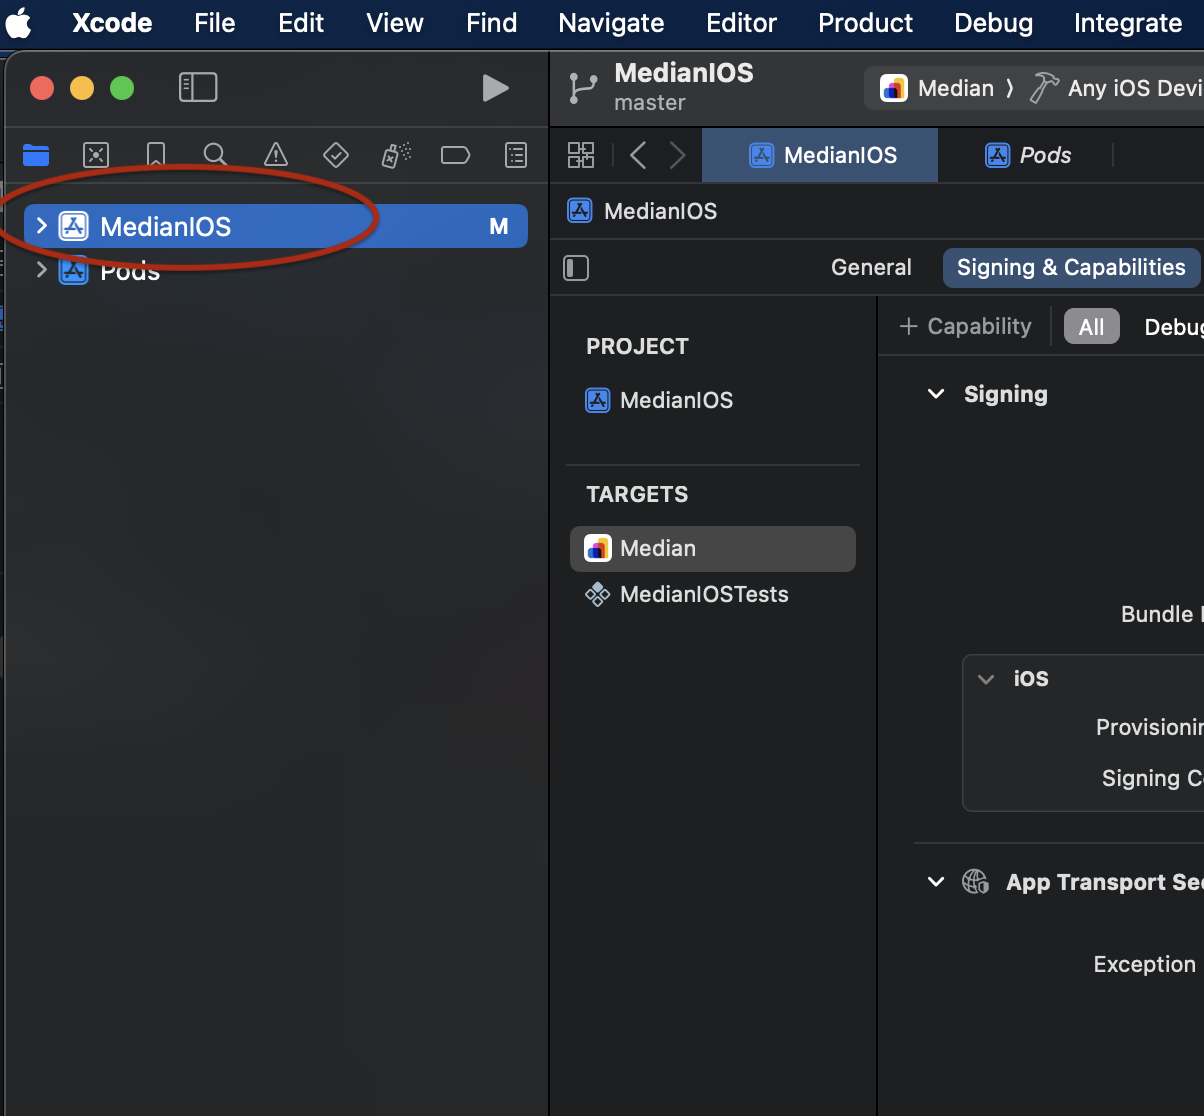
In Xcode, select YOUR_APP from the left panel as seen in Figure 1:
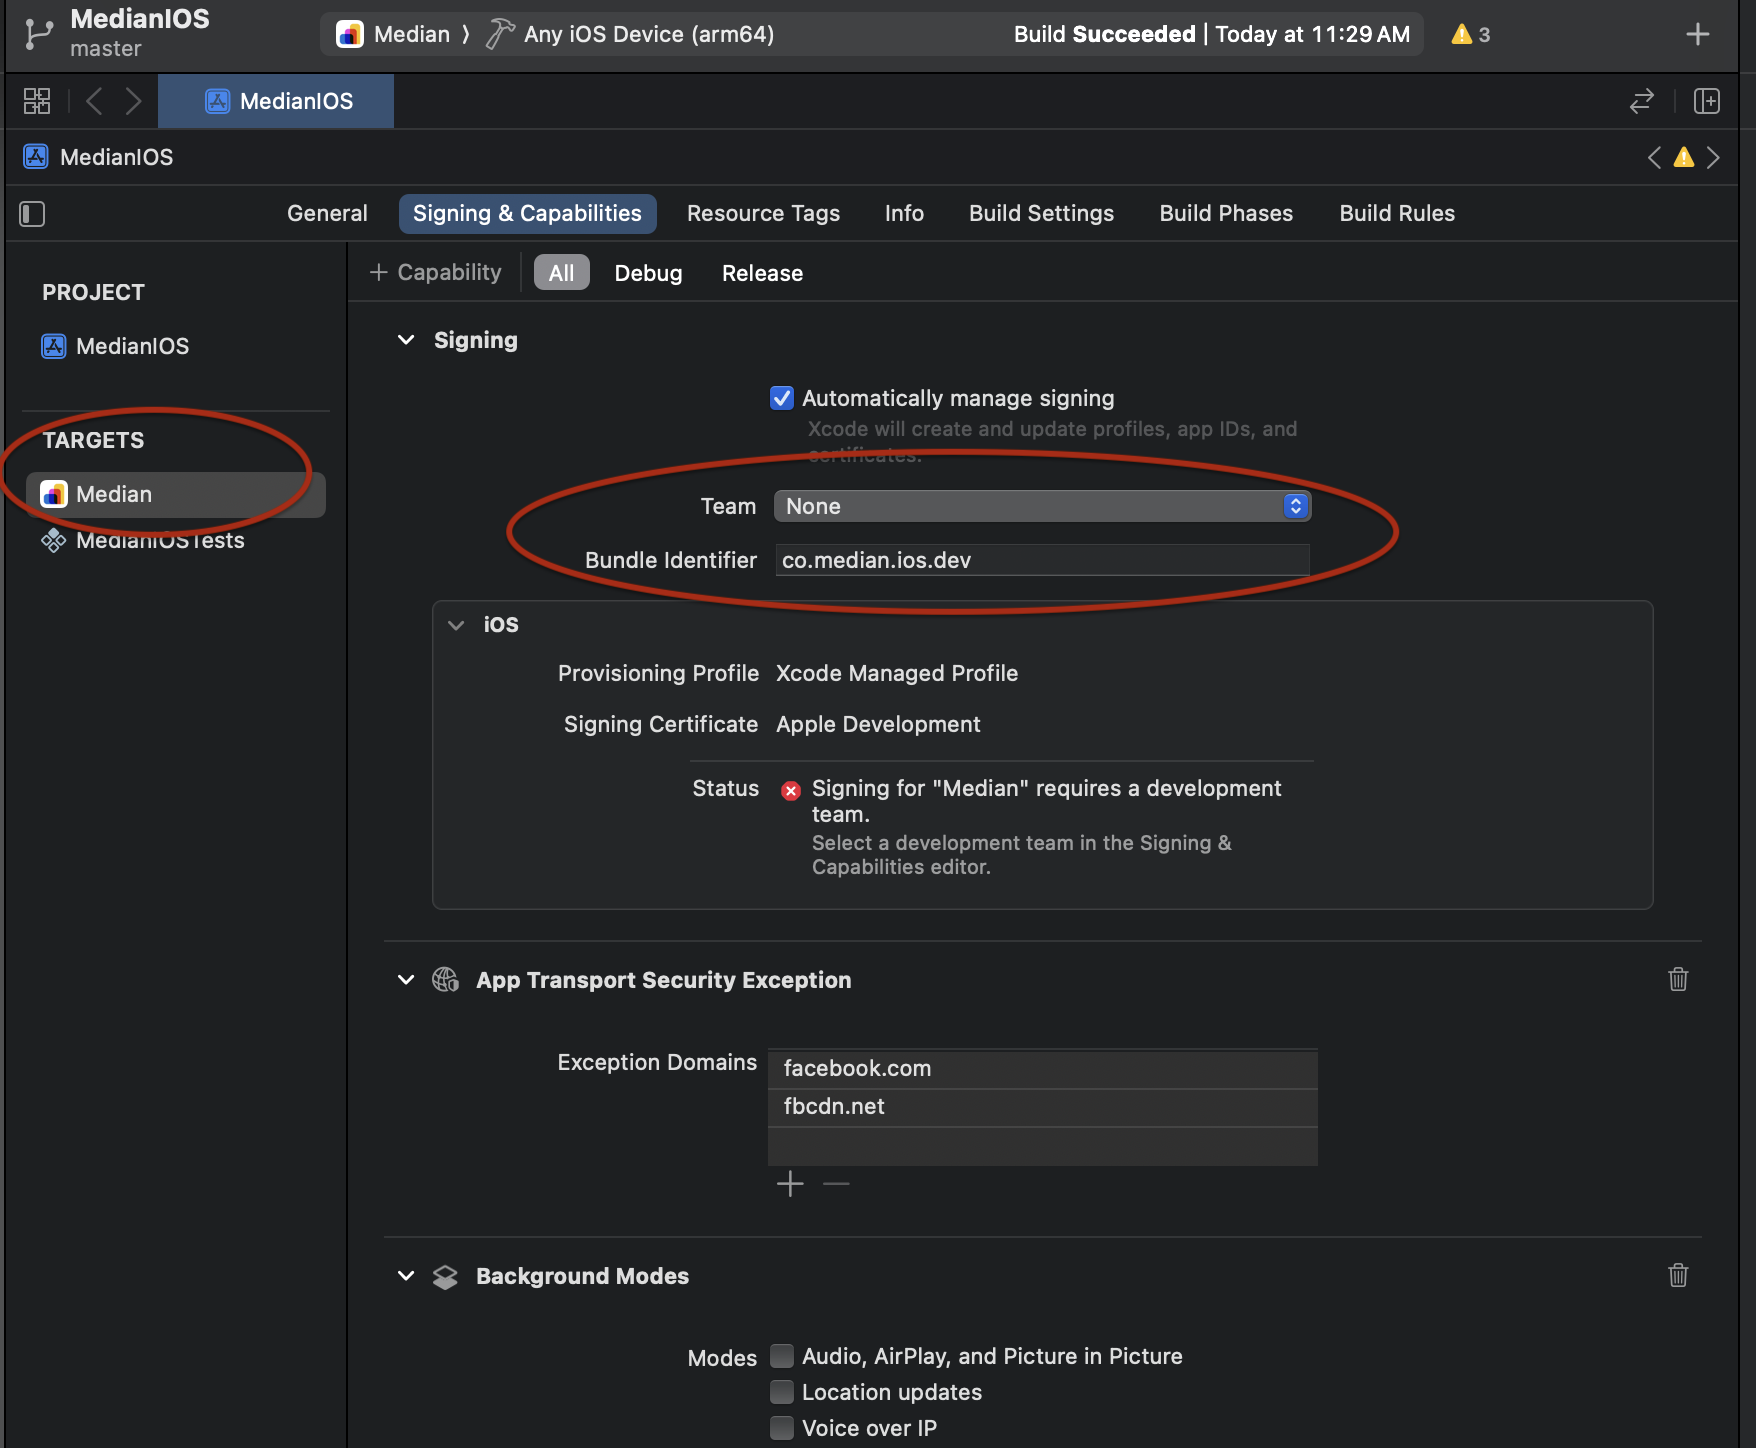
This will open another panel in the middle with various options. Select your target app in the "TARGETS" section and select "Signing & Capabilities". Now, choose your organization in the "TEAM" section and include your Bundle ID that you used to register your app in the previous section as shown in Figure 2:
3. Archive your app
Now, select Product > Archive from the top to archive your app.
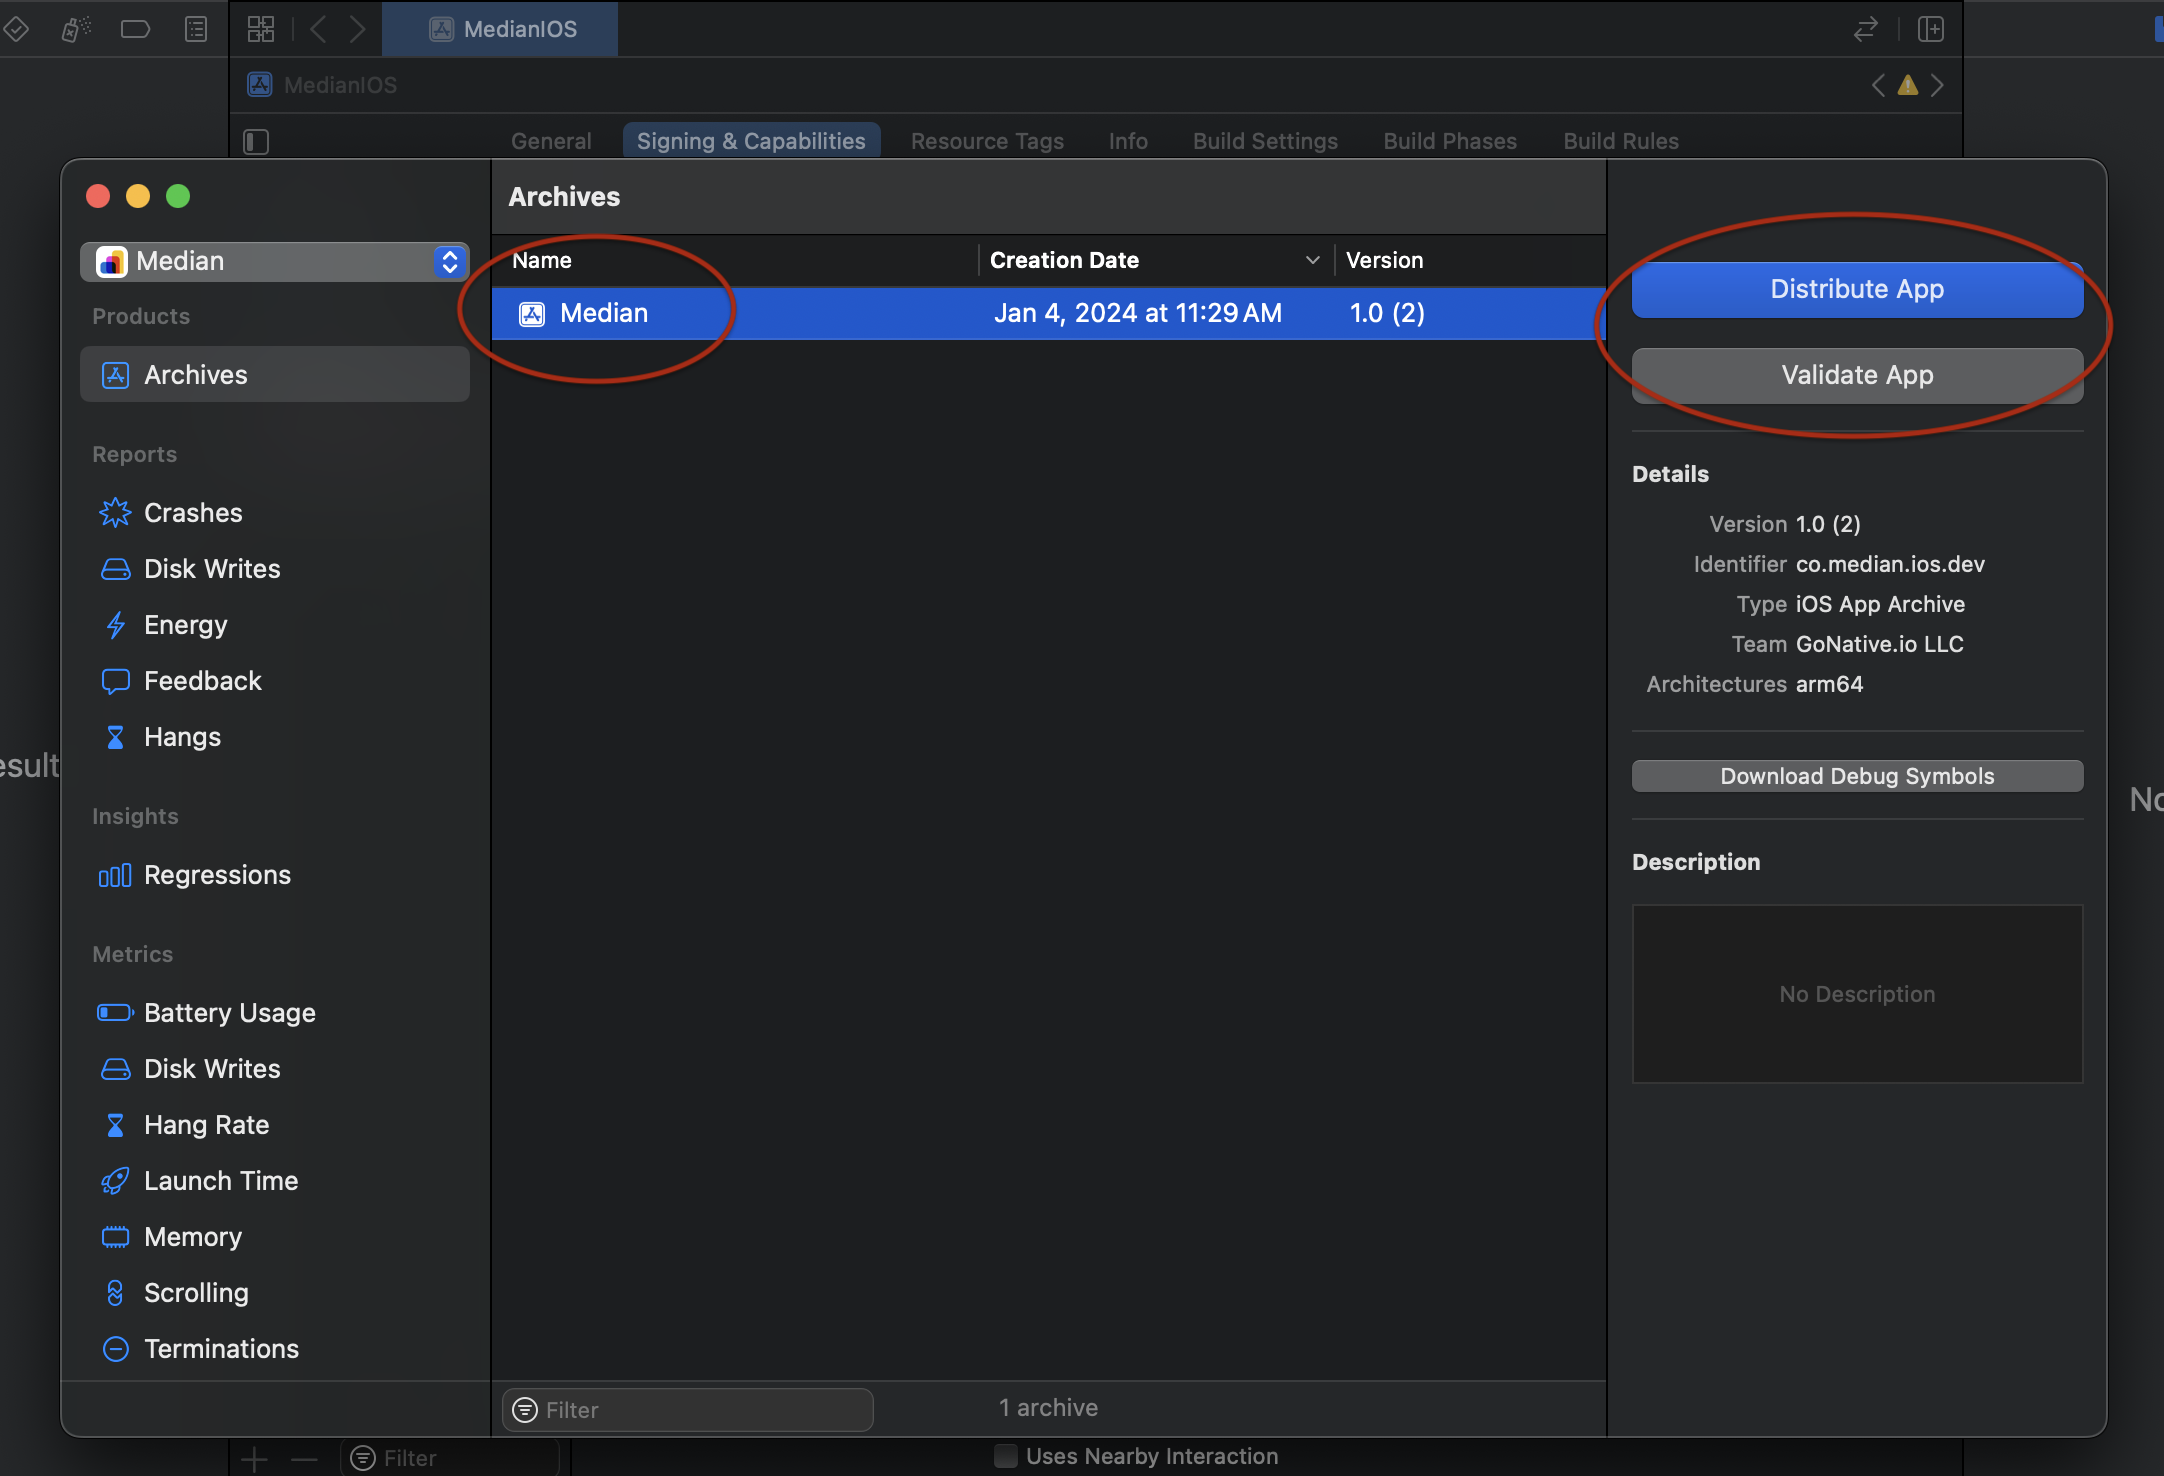
If there are no build errors, Xcode will open a new window with your newly archived app as seen in Figure 3.
4. Validate your App
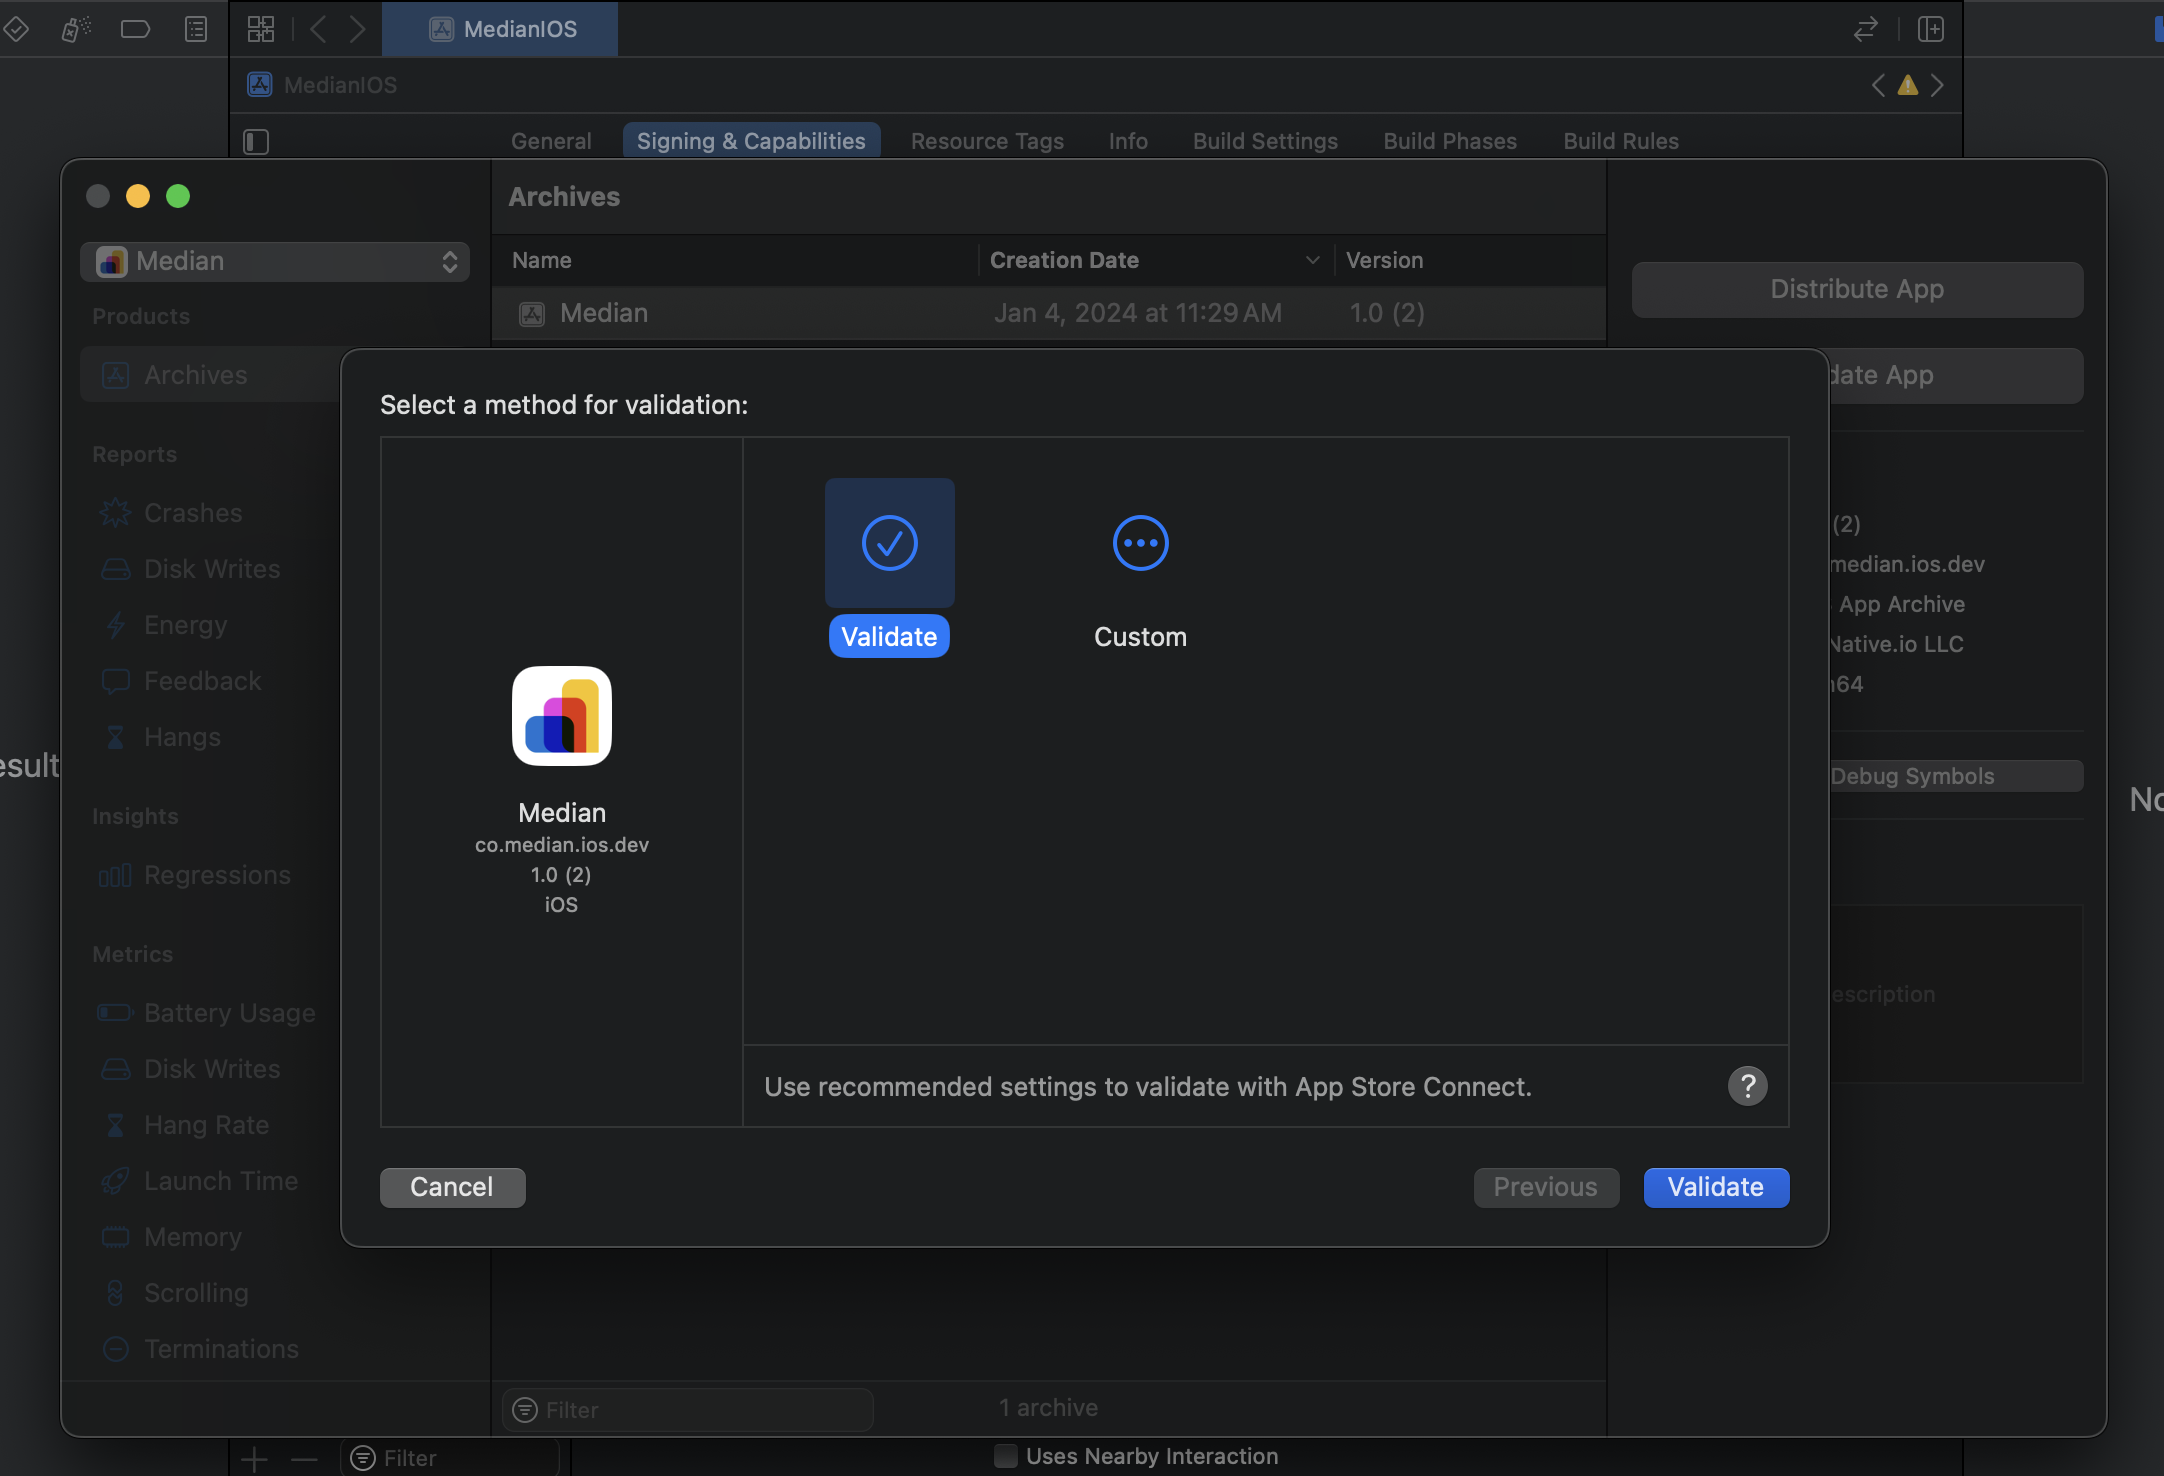
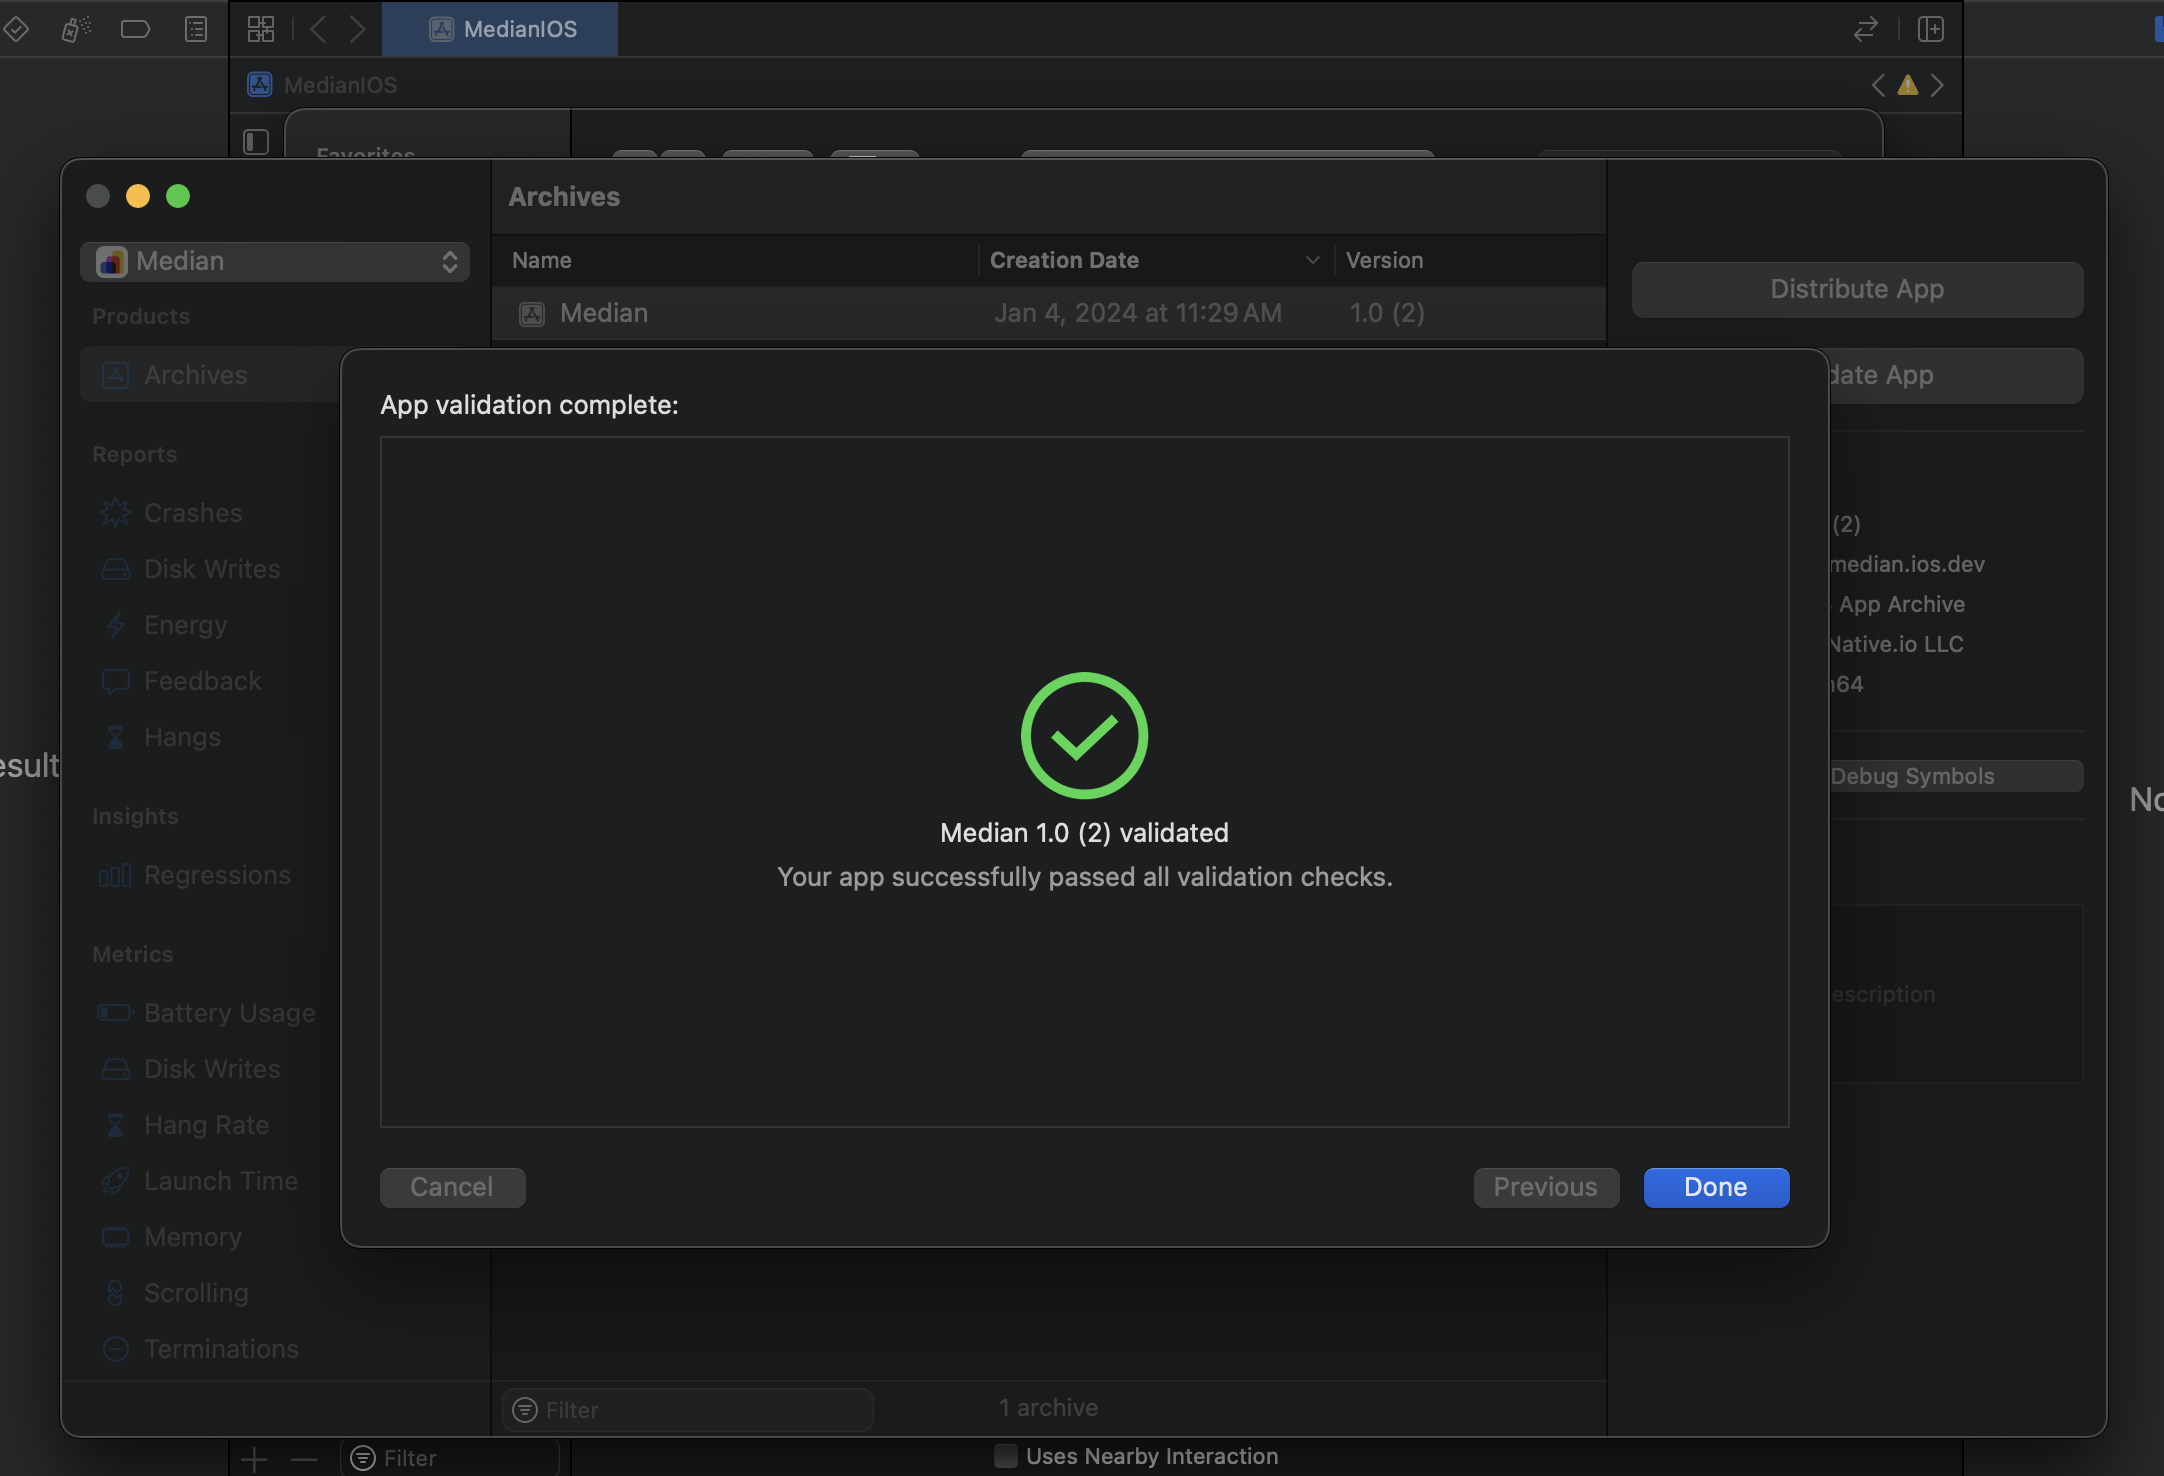
As seen in Figure 3, Xcode provides an option named "Validate App" to conduct an initial, automated limited assessment of the app and offer feedback. If you're looking to verify your app's readiness for TestFlight or the App Store submission without immediately submitting it, select your archive and then click on "Validate App".
5. Distribute your app
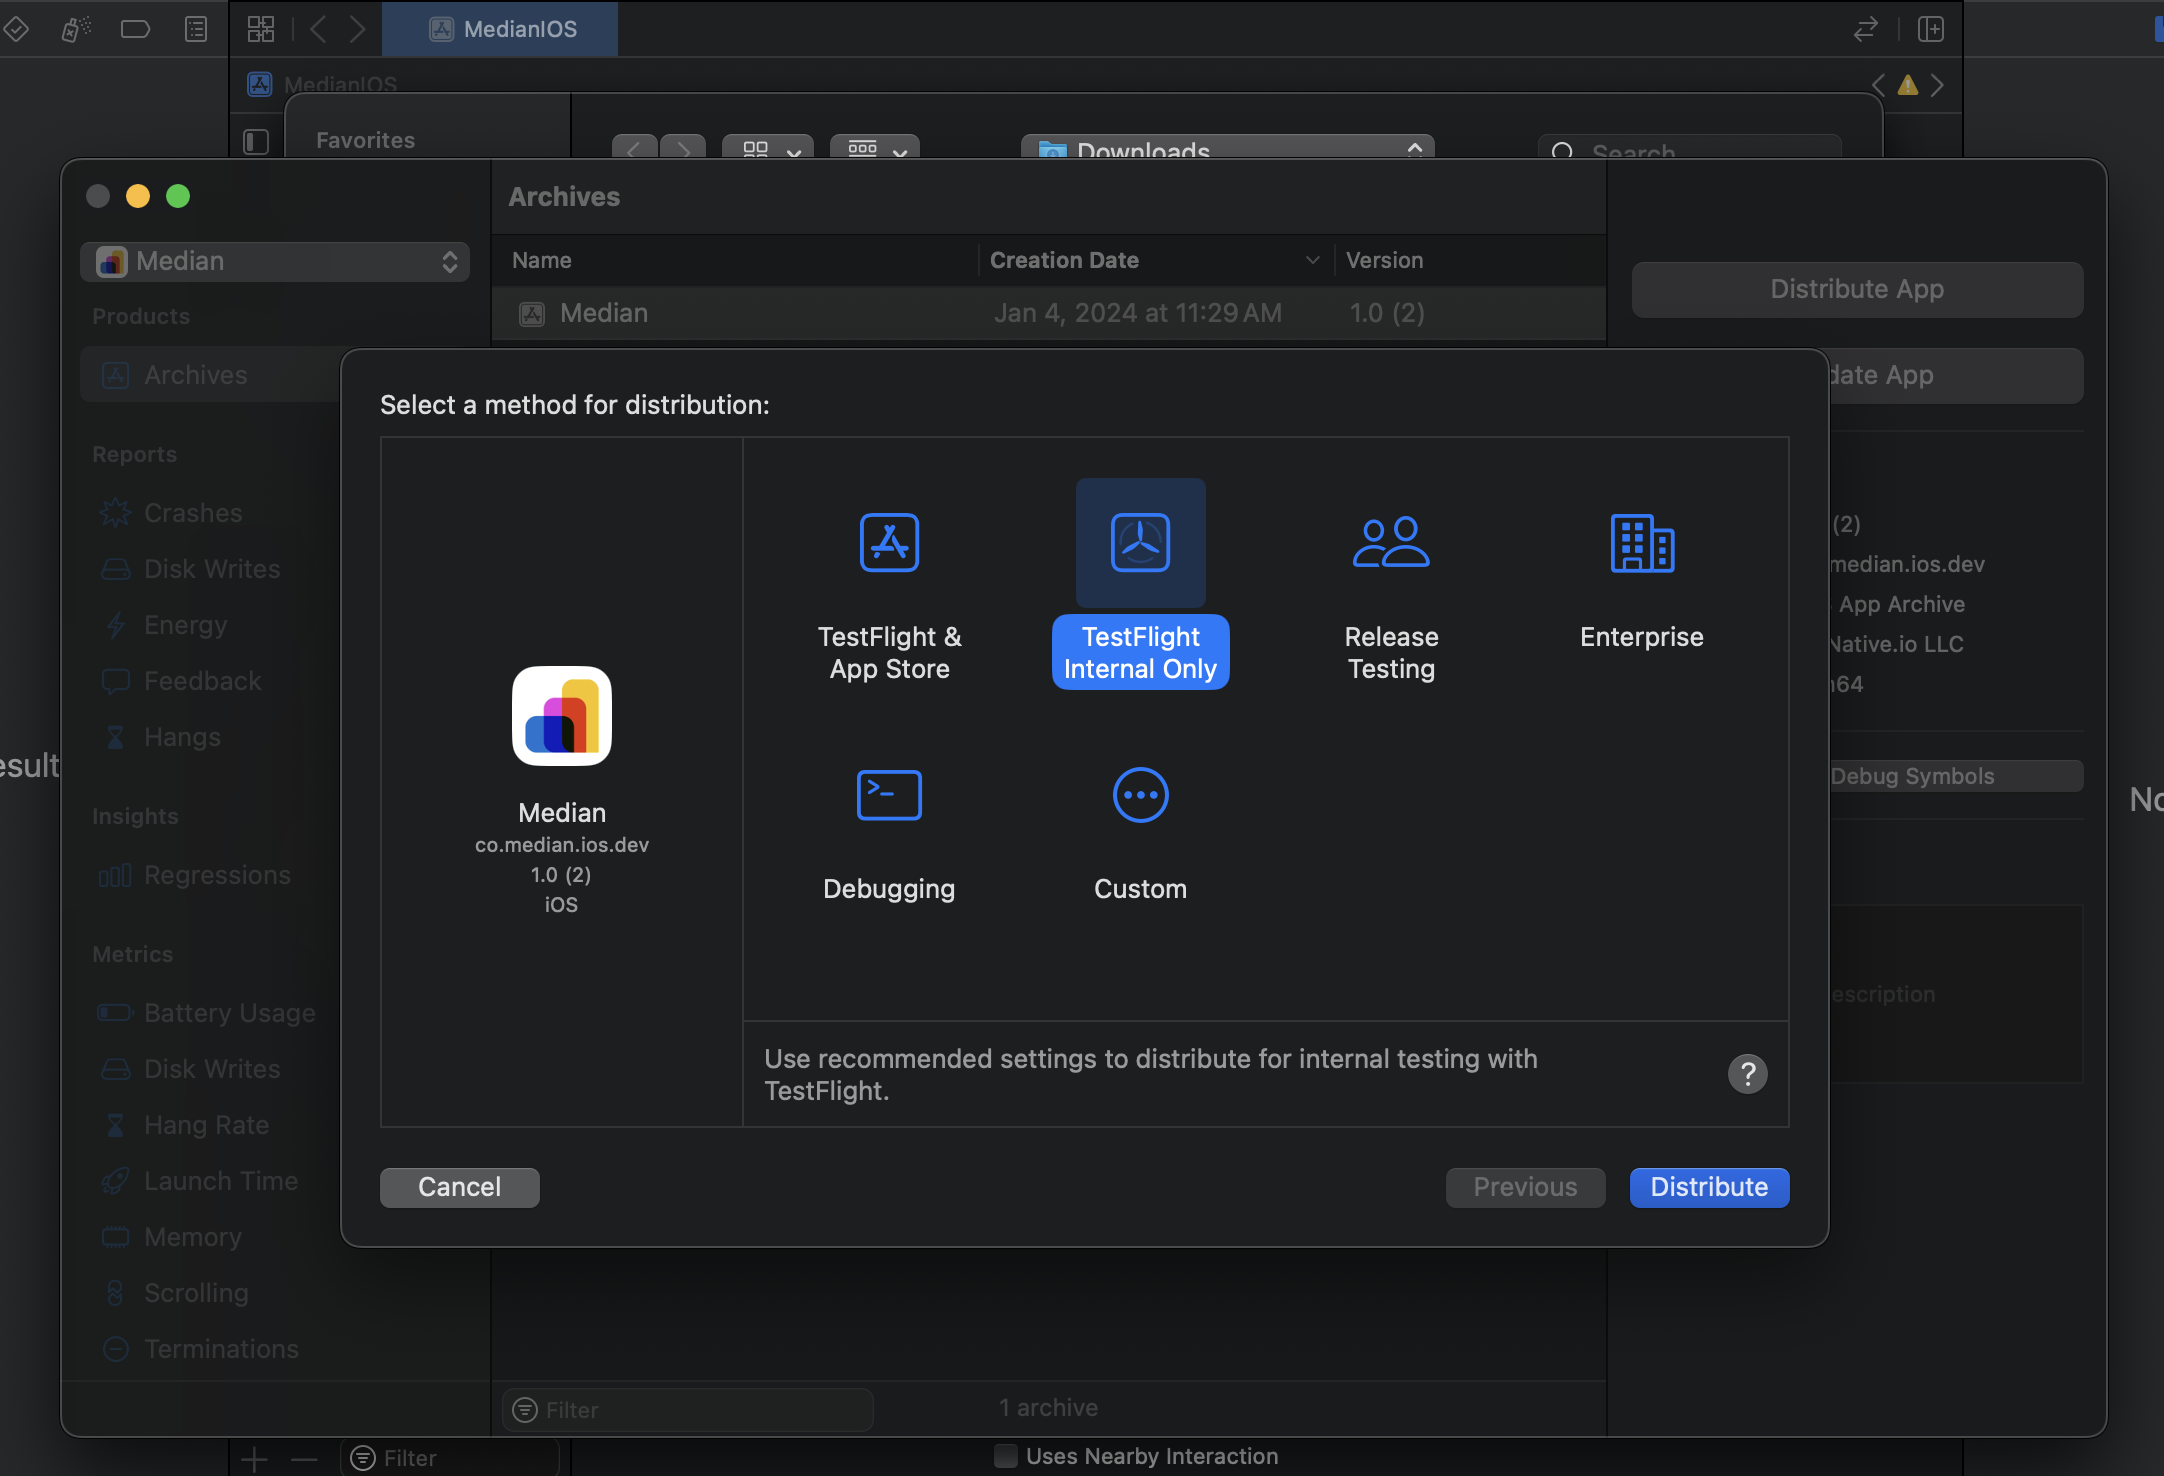
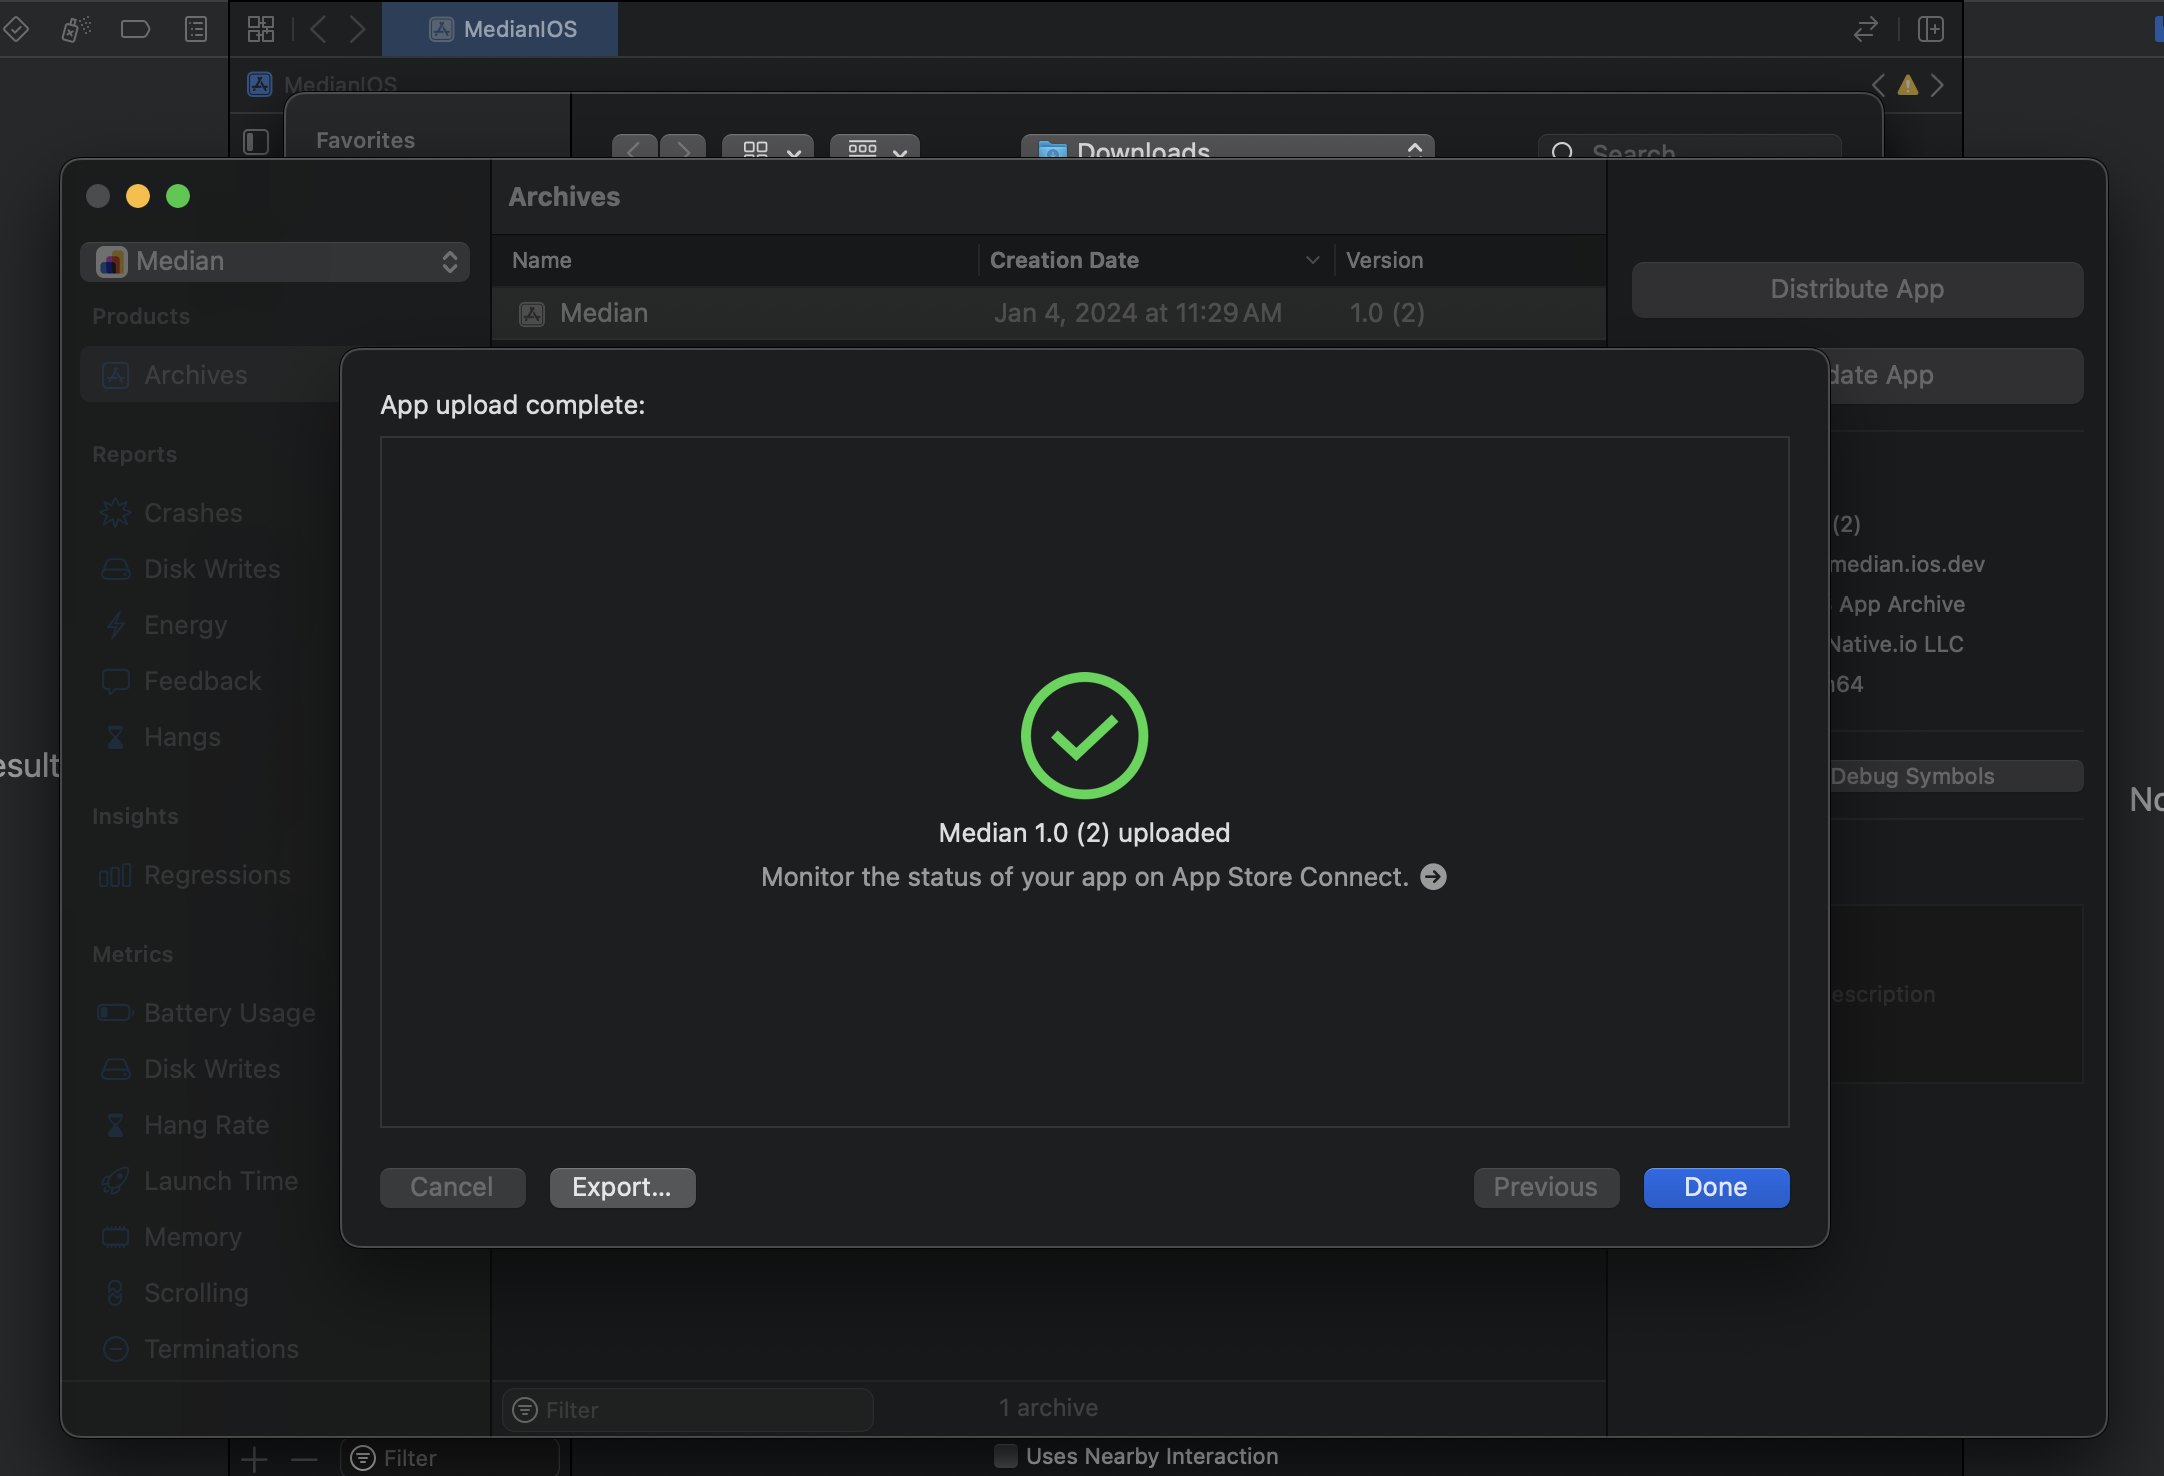
When your app is successfully validated, you can proceed to distributing the app to TestFlight by selecting "Distribute App". Select "TestFlight Internal Only" to allow testing for internal testers of your organization as seen in Figure 6:
6. App Store Connect
Visit App Store Connect's Apps page and open your registered app from the list. Select "TestFlight" from the top bar to see your newly uploaded TestFlight distribution as seen in Figure 8 below.
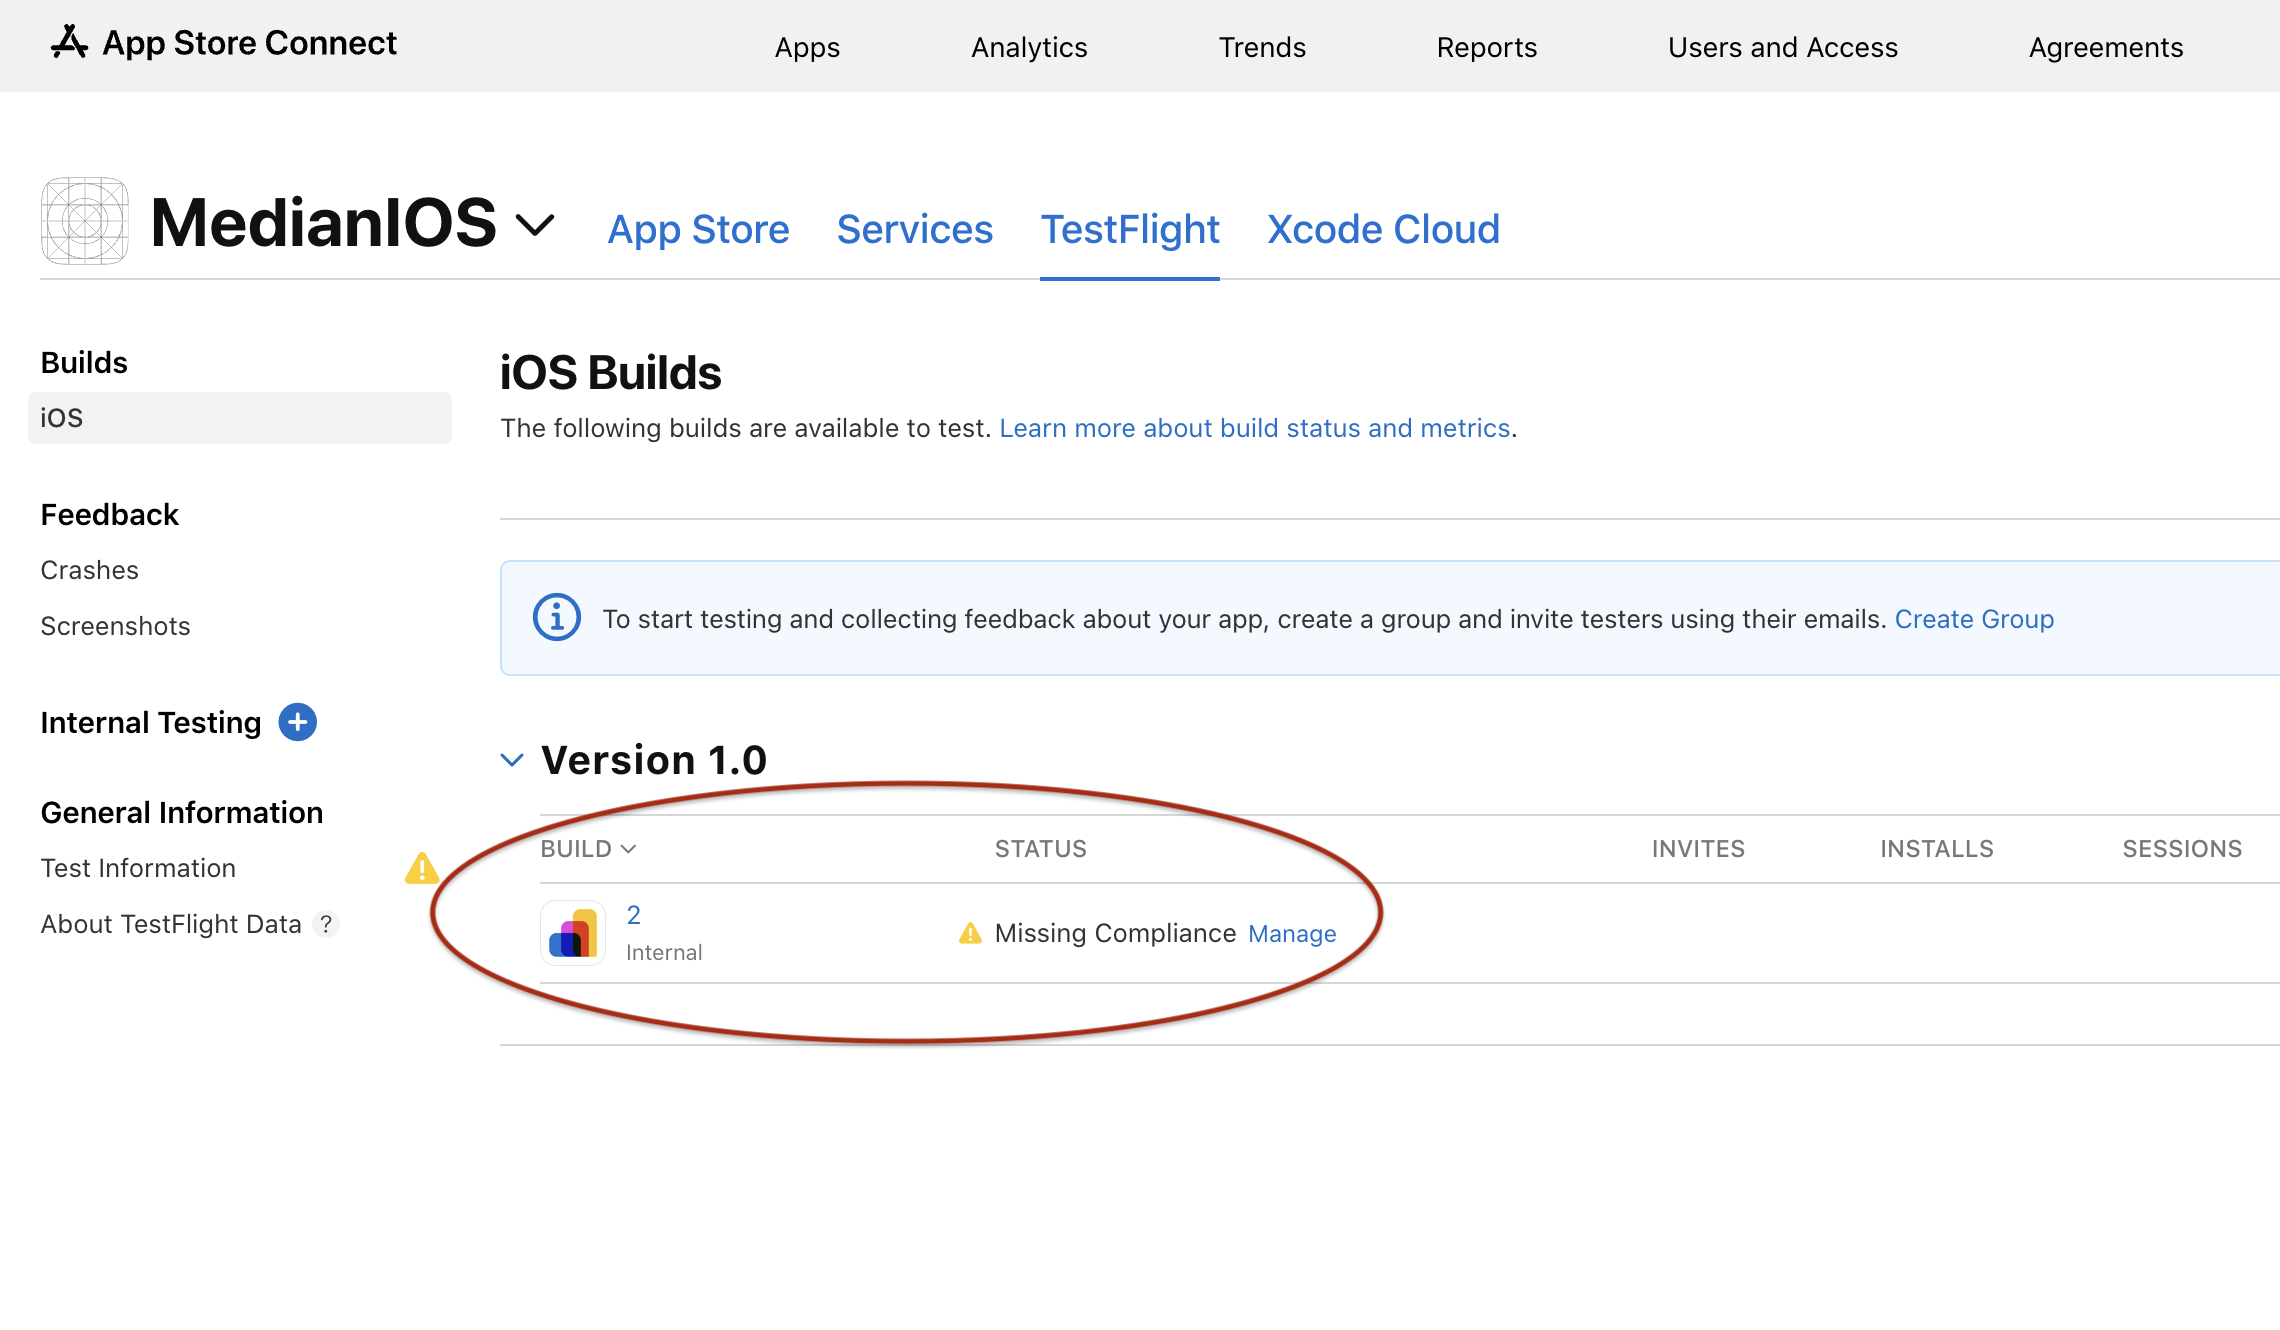
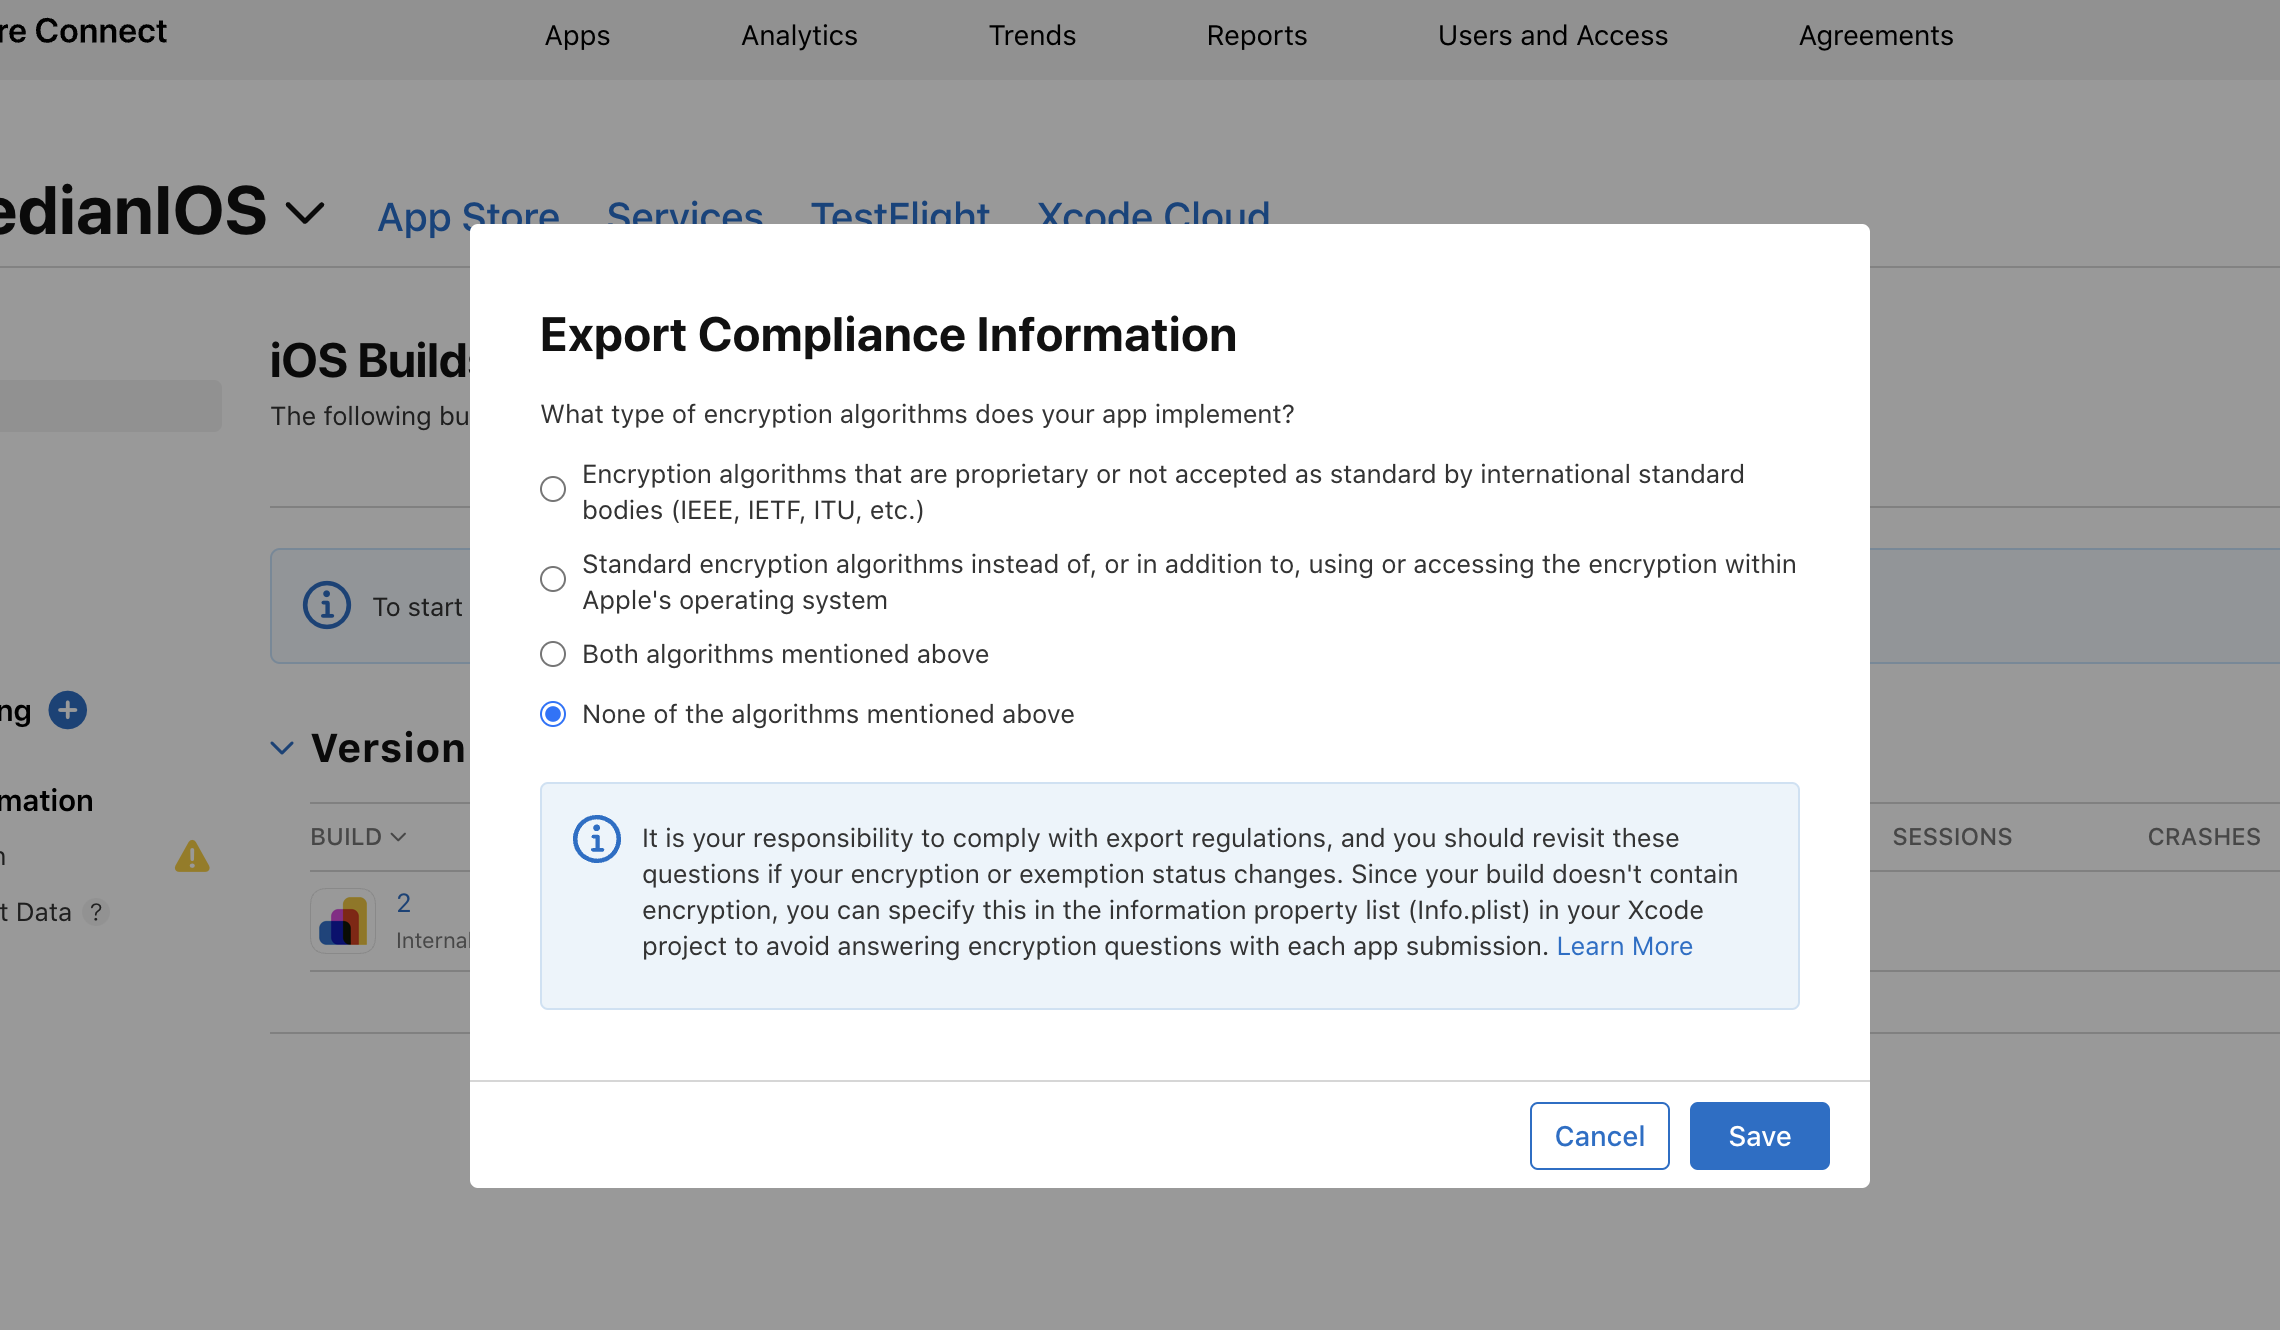
If you are seeing "Missing Compliance" such as above, click "Manage", choose "None of the algorithms mentioned above" from the options and hit "Save" as seen in Figure 9 below:
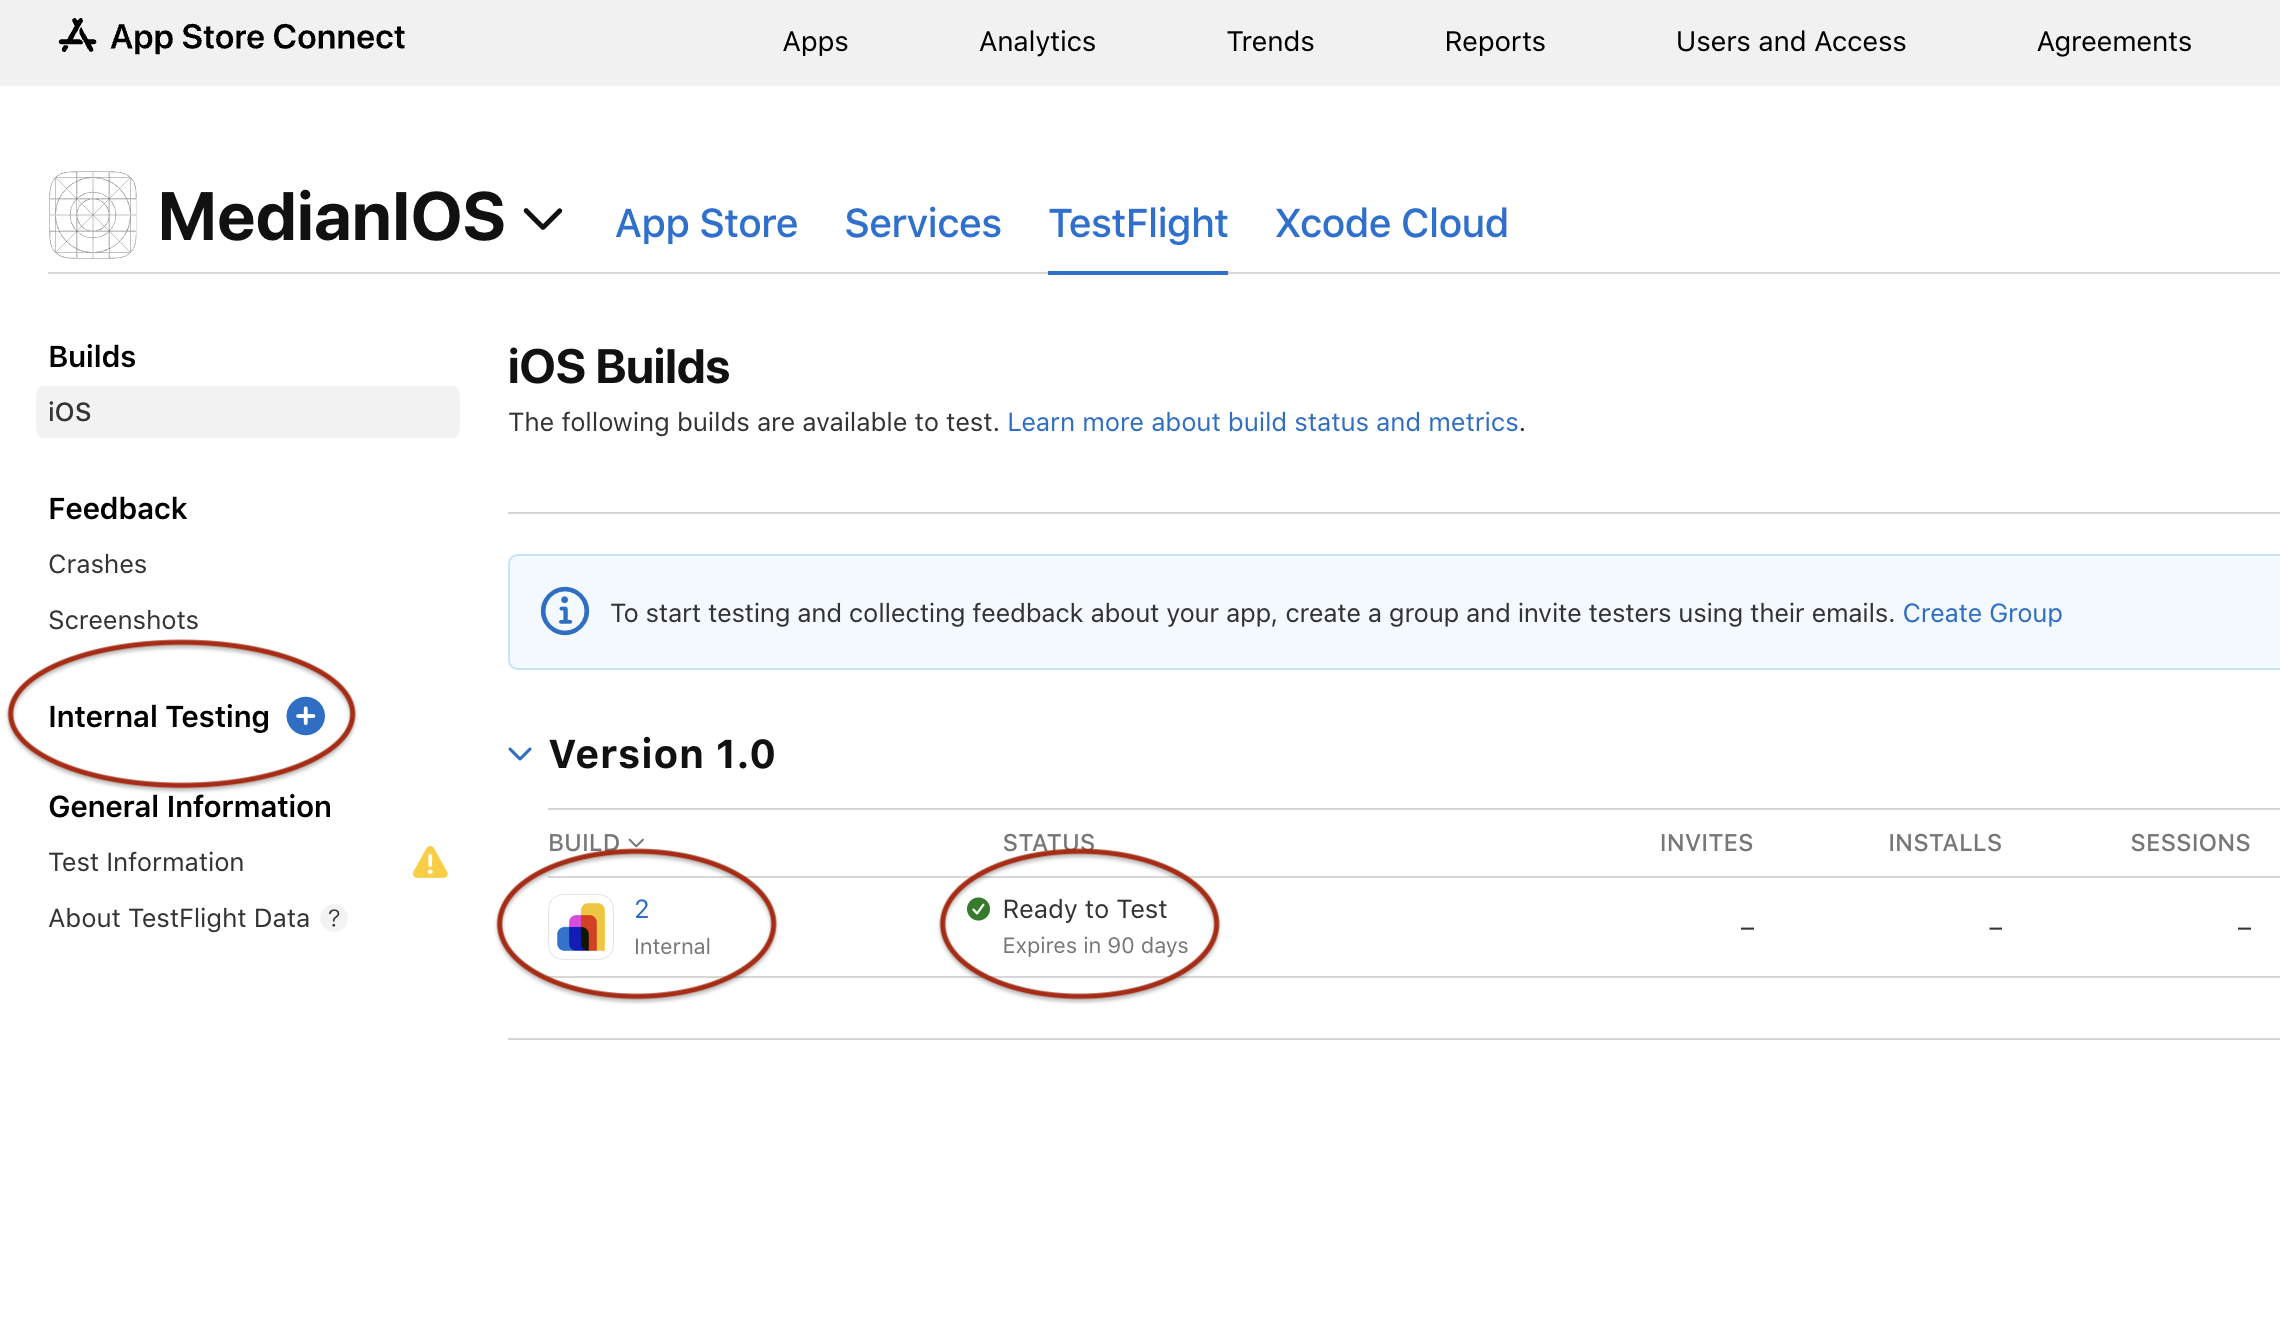
Now, you will see that your app is ready to be Tested as seen in Figure 10:
7. Add Internal Testers
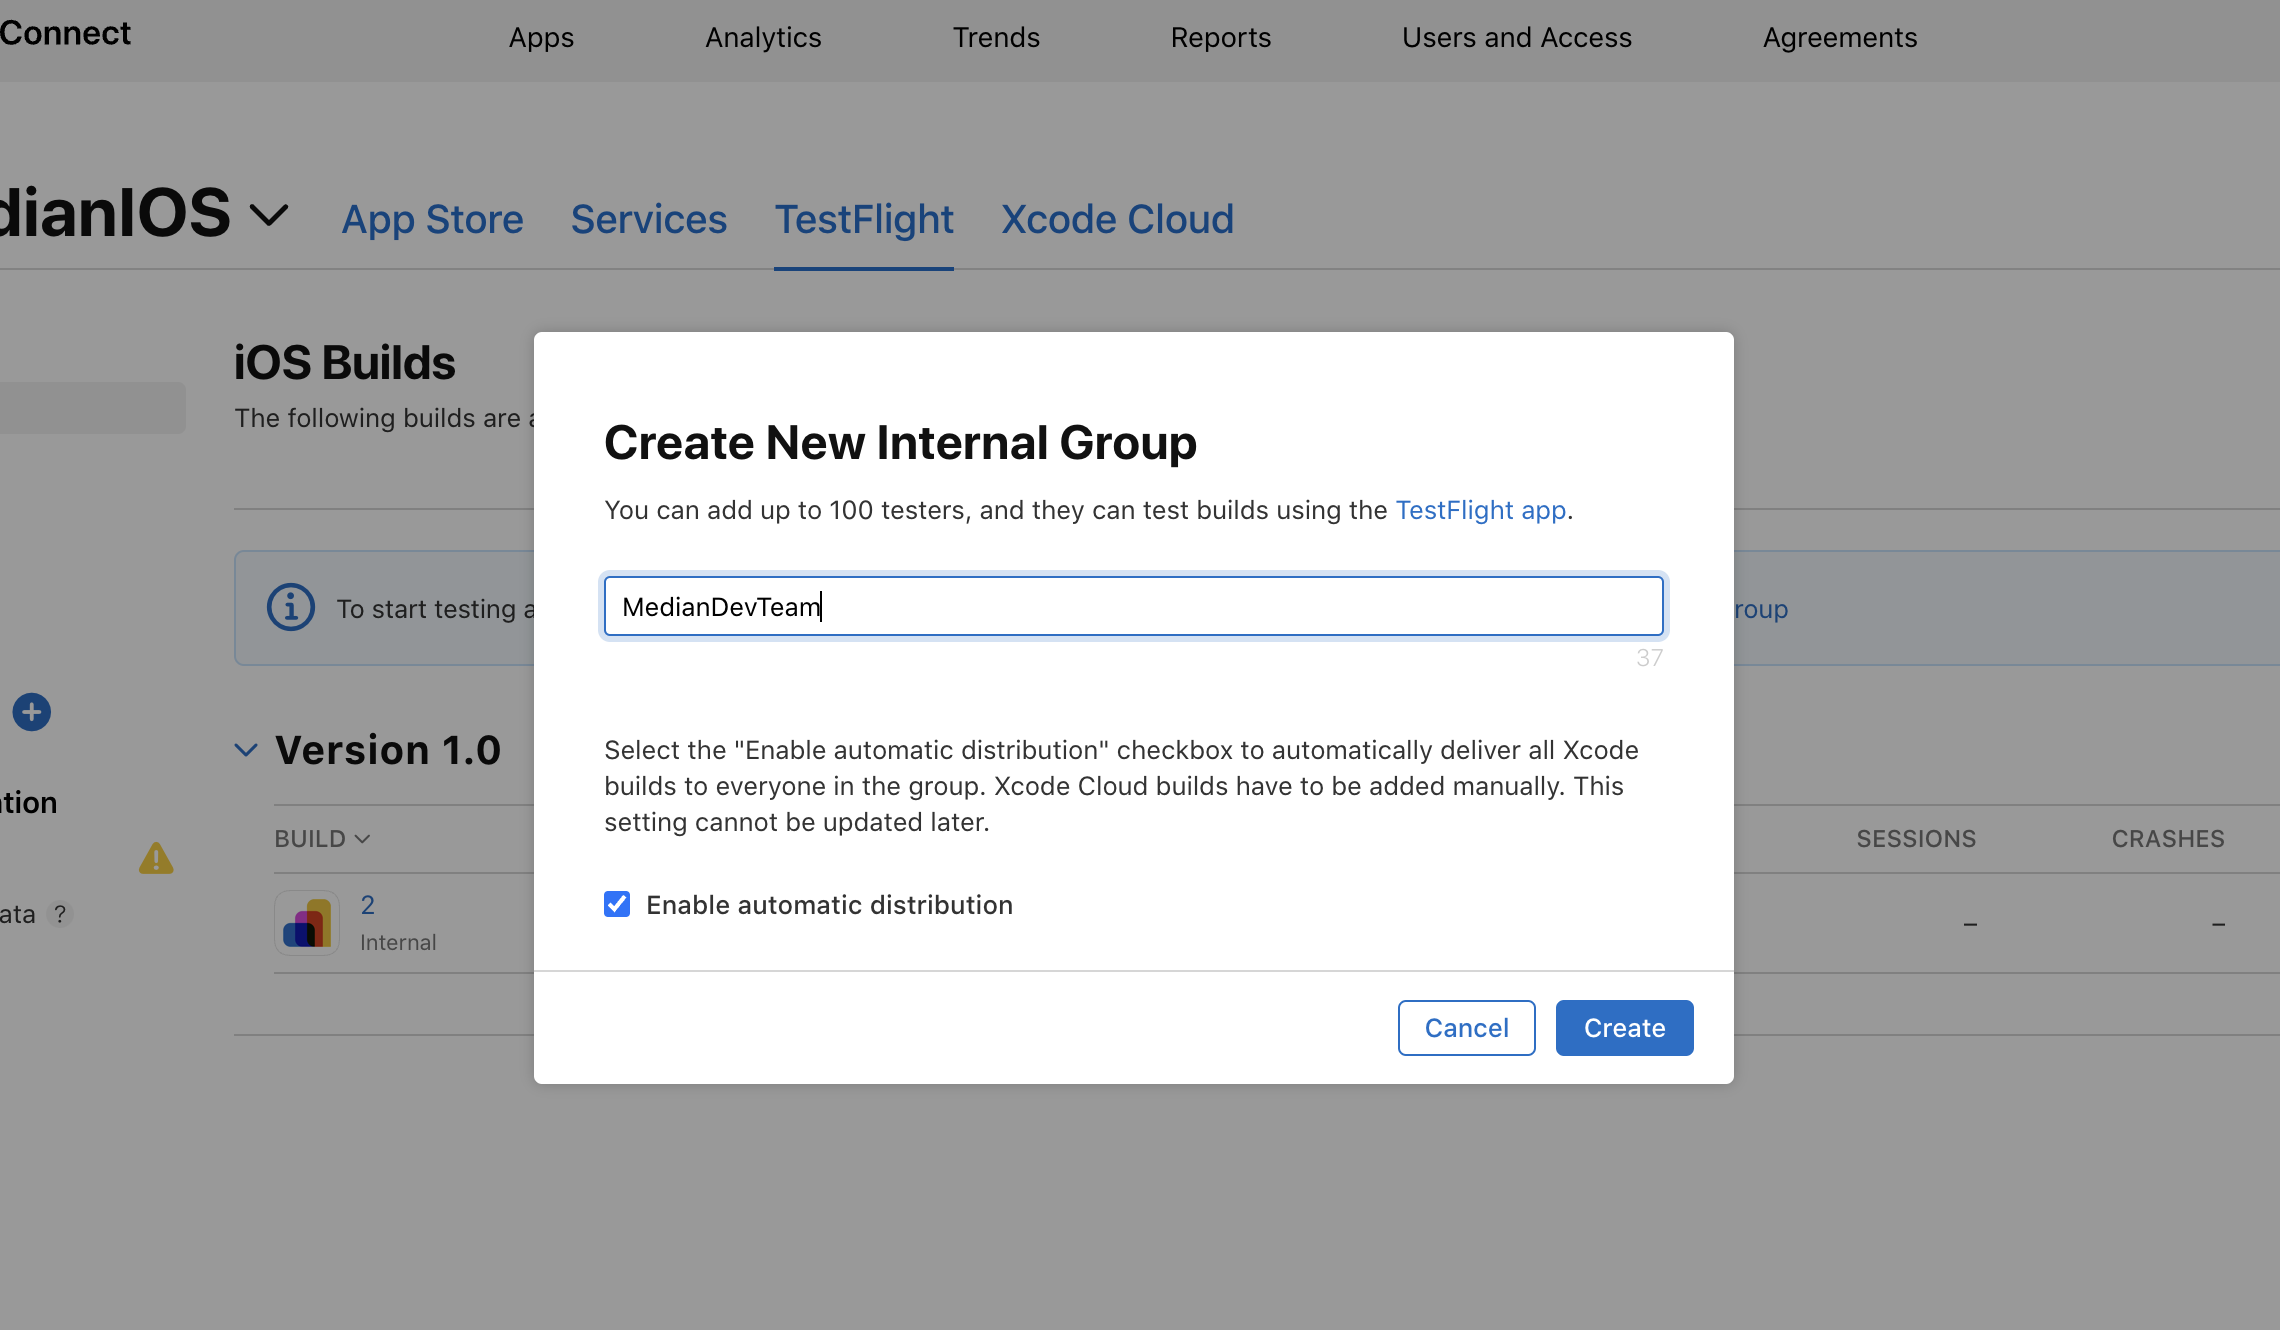
Now, if you don't already have an internal testers group, click the "+" icon besides the "Internal Testing" label (see Figure 10) to create a new Internal Testers group as seen below in Figure 11:
Once the group is created, it will appear directly below the "Internal Testers" label as seen previously. Click the newly created group and you will see the following page with an option named "Testers (0)" to add the testers:
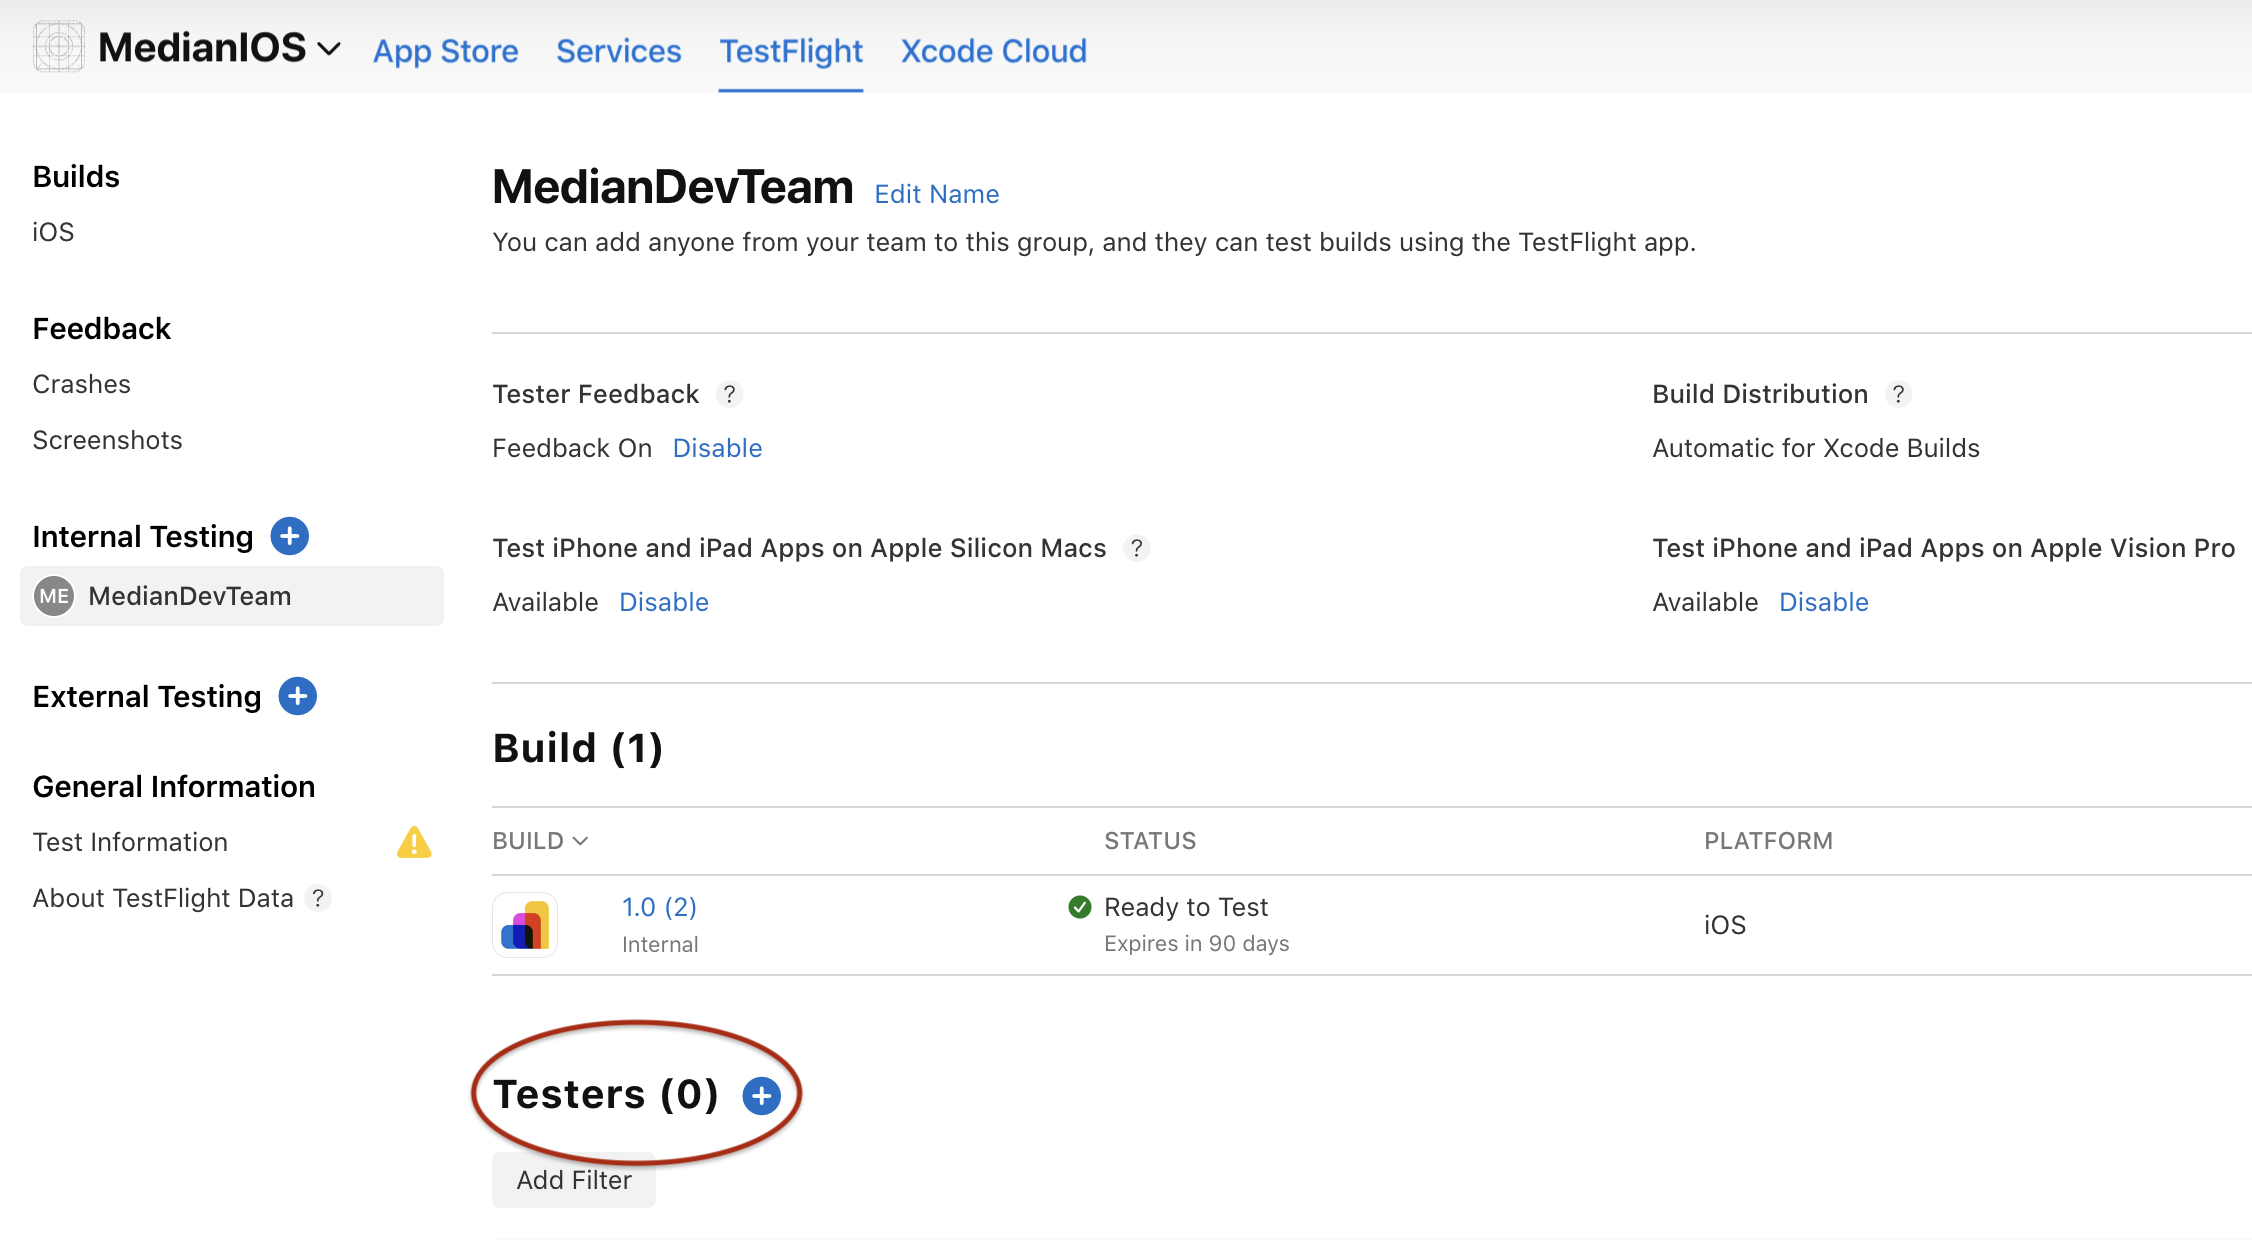
Click the "+" icon besides the "Testers (0)" label and add testers from the list of users in your organization. Once added, you will see the list of invited testers as seen in Figure 13 below:
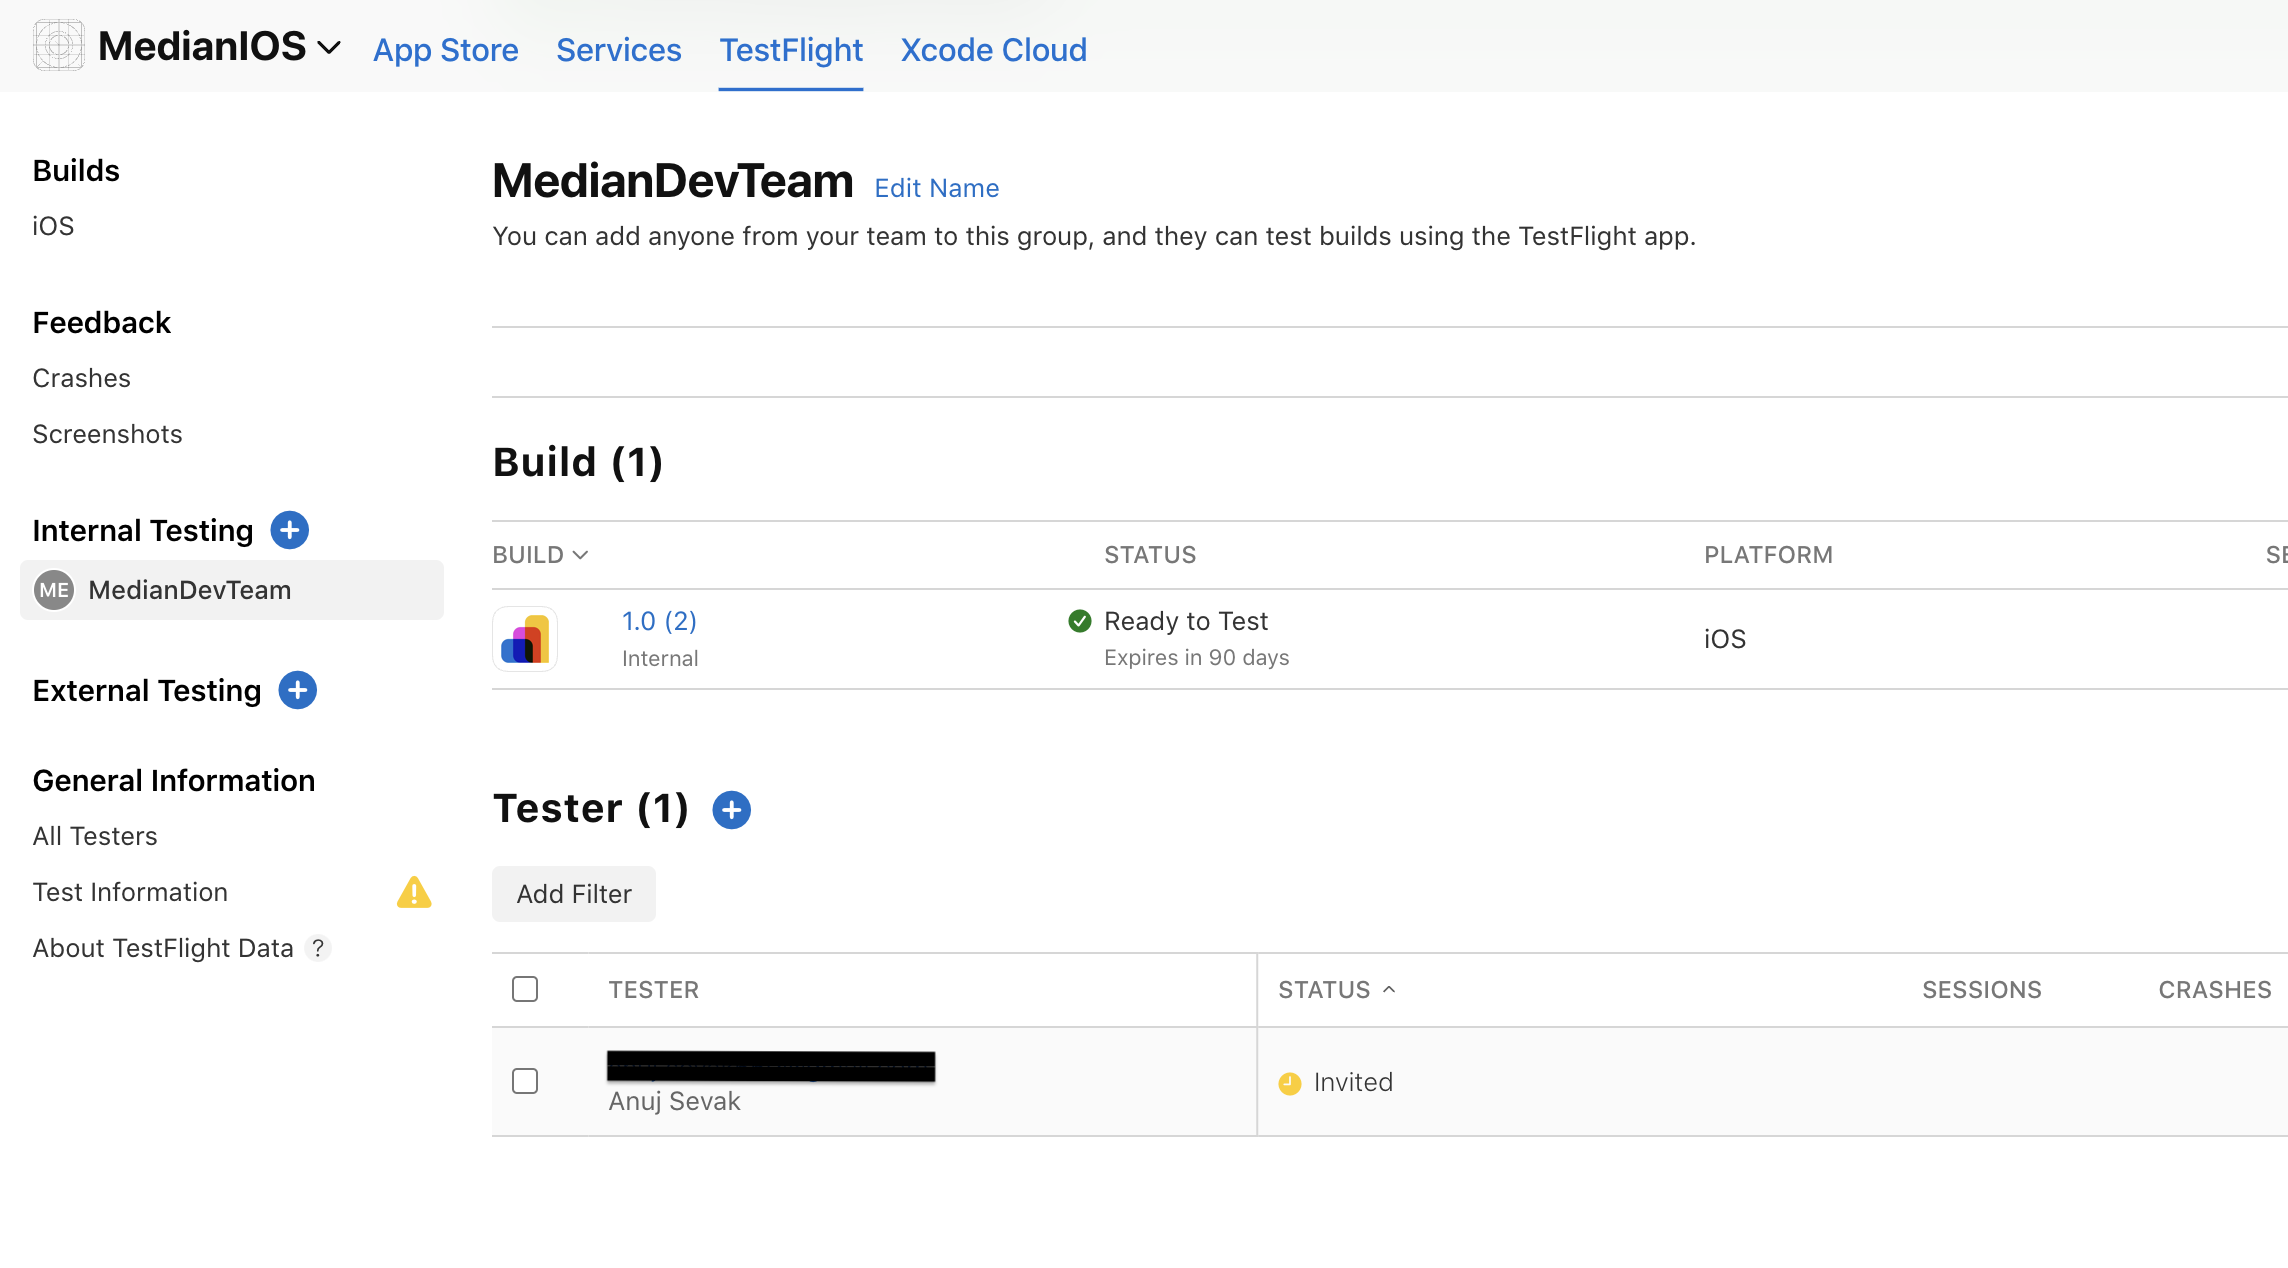
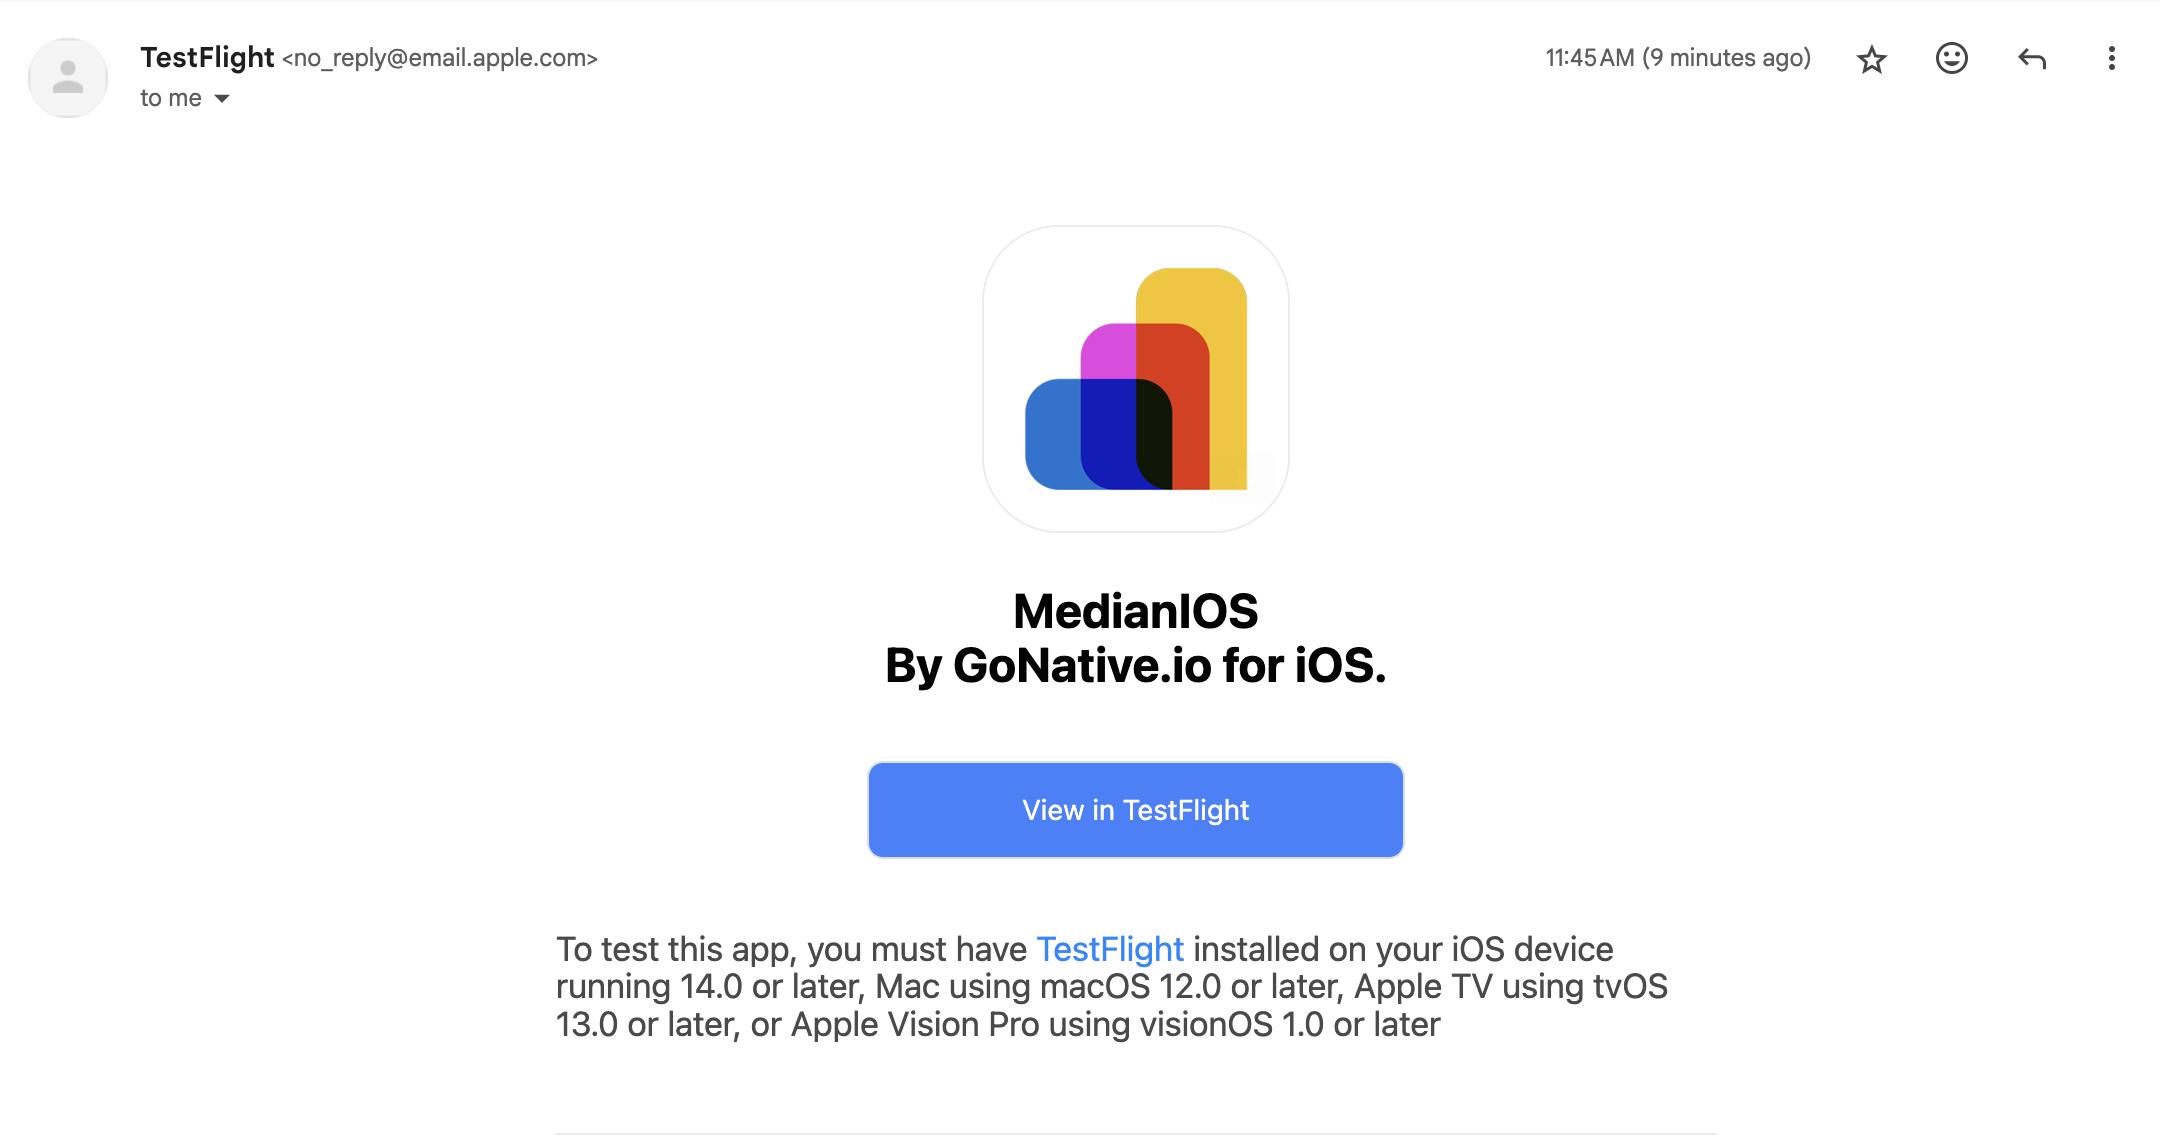
Each tester will receive an email invite that they can use to test the newly uploaded app on the TestFlight iOS app.
Frequently Asked Questions
Do TestFlight builds expire?
Yes. All builds uploaded to TestFlight are active for 90 days before they expire. For test access after the 90 days you can upload a new build.
Updated about 1 month ago